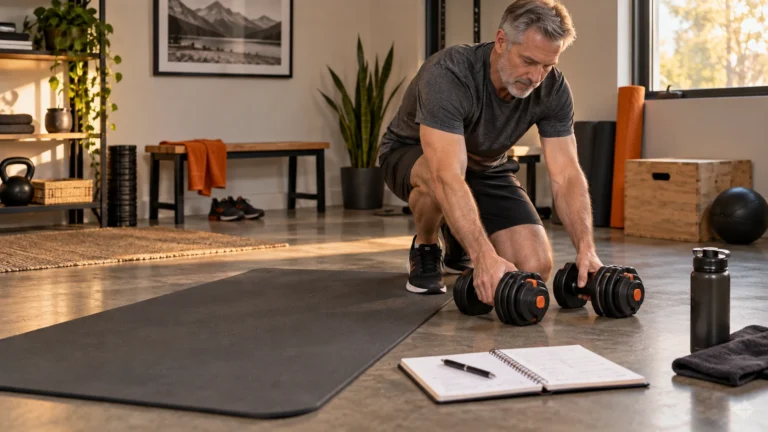
Build strength anywhere with a progressive four-week no-equipment workout for men, including easier options, harder variations, schedules, and honest limits.
- Follow a balanced six-movement template with beginner, standard, and advanced versions.
- Use the four-week plan to progress reps, tempo, pauses, range, and leverage without buying equipment.
- Treat loaded pulling as an honest limitation instead of pretending floor drills fully replace rows.
Bottom line Start with week one, record the exact exercise versions you can control, and progress only one variable in the next session.
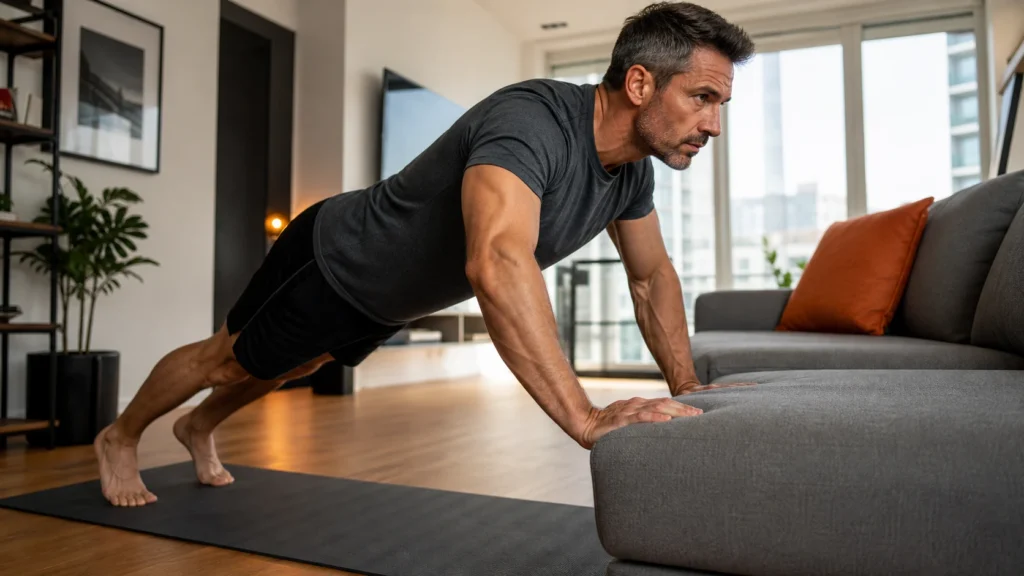
A useful no-equipment workout is not a random circuit of burpees and crunches. Build it around six jobs—squat, hinge, push, single-leg work, trunk stability, and conditioning—then progress one variable each week. The four-week plan below gives you the exact sessions, easier substitutions, and harder versions without requiring a purchase.
A no-equipment workout can build real strength, muscle control, conditioning, and consistency—especially if you are new to structured training or returning after time away. What it cannot do is make progression automatic. Your body adapts, so the plan must become harder in a controlled way instead of simply becoming faster and messier.
Quick Summary: No-Equipment Workout
- Train the whole body three times per week with at least one rest day between sessions.
- Choose a version of each exercise that leaves roughly two clean repetitions in reserve.
- Progress through range of motion, tempo, pauses, repetitions, density, or leverage—not random fatigue.
- Do not treat every session as HIIT. Strength-focused sets need controlled reps and adequate rest.
- Bodyweight training has a pulling limitation; acknowledge it rather than inventing a poor substitute.
Check Your Starting Point Before the First Session
You do not need a fitness test to earn the right to begin. You do need a starting level that lets you move with control. Use the checks below to select exercise versions. Stop and seek qualified guidance if you have unexplained chest pain, dizziness, a recent injury, or pain that changes how you move.
Push check
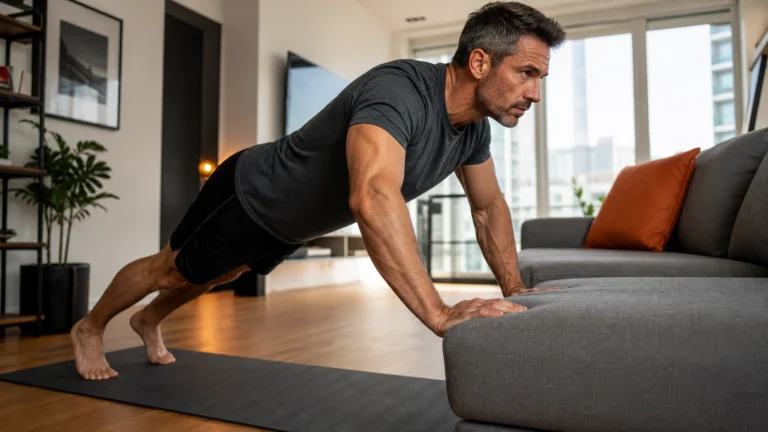
Can you complete eight wall, counter, knee, or floor push-ups without your hips sagging or shoulders pinching? Use the hardest version that stays clean.
Leg check
Can you sit toward a chair and stand without collapsing inward at the knees? Shorten the depth or use fingertip support if needed.
Core check
Can you hold a tall plank or elevated plank for 20 seconds while breathing? If not, begin with a dead bug.
Floor and space check
You need enough room to lie down and step backward. Use a folded towel for comfort, but do not rely on unstable furniture.
The Six-Movement Full-Body Session
Warm up for four to six minutes: march in place, perform slow bodyweight squats, circle the shoulders, practice a hip hinge, and complete several easy repetitions of the first push-up version. The goal is to rehearse movement—not exhaust yourself before the work begins.
| Movement job | Exercise | Beginner | Standard | Advanced |
|---|---|---|---|---|
| Squat | Squat pattern | Chair squat, 8–12 | Bodyweight squat, 12–20 | 1.5-rep or jump-free speed squat, 10–15 |
| Push | Push-up | Wall or counter, 6–12 | Floor push-up, 6–15 | Diamond, decline, or pause push-up, 6–12 |
| Hinge | Glute bridge | Two-leg bridge, 10–15 | Long-lever bridge, 10–15 | Single-leg bridge, 8–12/side |
| Single leg | Reverse lunge | Supported split squat, 6–10/side | Reverse lunge, 8–12/side | Rear-foot-hover split squat, 8–12/side |
| Trunk | Anti-extension core | Dead bug, 6–10/side | Plank, 20–40 sec | Long-lever plank, 15–30 sec |
| Conditioning | Low-space finisher | Fast march, 30 sec | Mountain climber, 20–30 sec | Squat thrust, 20–30 sec |
Perform the first five movements for two to four rounds. Rest 45–90 seconds between exercises when technique needs it and 60–120 seconds between rounds. Finish with two to four conditioning intervals. A session should feel productive, not chaotic.
A Complete 30-Minute Session, Minute by Minute
Use this version when you want to begin without designing anything yourself. The clock is a boundary, not a demand to rush. If you need longer rest to preserve technique, take it and let the workout finish a few minutes later.
| Time | Work | Execution |
|---|---|---|
| 0:00–5:00 | Warm-up | March for 60 seconds, then complete five slow squats, five hip hinges, five easy push-ups, six reverse lunges per side, and six dead bugs per side. |
| 5:00–12:00 | Round 1 | Squat, push-up, bridge, reverse lunge, and core exercise. Use the beginner or standard versions and leave 2–3 clean repetitions available. |
| 12:00–19:00 | Round 2 | Repeat the same versions. Add repetitions only if round one felt controlled from the first rep to the last. |
| 19:00–25:00 | Round 3 | Complete a third round or stop after two if technique is declining. Consistency is more useful than forcing junk volume. |
| 25:00–28:00 | Conditioning | Perform four rounds of 20 seconds of fast marching, mountain climbers, or squat thrusts followed by 25 seconds of easy movement. |
| 28:00–30:00 | Log and recover | Walk slowly, breathe normally, and record exercise versions, reps, and one movement to adjust next time. |
Your log can be simple: counter push-up 10/10/9, chair squat 15/15/15, bridge 15/15/15. That record tells you far more than “hard workout.” In the next session, repeat the same setup and try to improve one number without changing your form.
Form Cues and Stop Rules for the Main Movements
Squat and split-squat patterns
Keep the whole foot in contact with the floor and allow the knees to travel in the same general direction as the toes. Use a depth you can control without dropping into the bottom. During split squats and lunges, shorten the stance if balance is the main challenge. Stop the set when you begin pushing heavily from one side or the knee repeatedly collapses inward.
Push-up patterns
Create a straight, braced line from the head through the hips. Lower the chest toward the wall, counter, or floor while the elbows travel at a comfortable angle—not straight out to the sides. Choose a higher surface if the hips sag, the neck reaches forward, or the shoulders feel pinched. A clean elevated push-up is a better strength exercise than a collapsing floor rep.
Glute bridge and hinge work
Begin with the ribs relaxed rather than flared. Press through the feet and lift only as high as the hips can extend without the lower back taking over. If hamstrings cramp, bring the feet slightly closer and reduce the height. Progress to a long-lever or single-leg version only after both sides feel stable.
Planks and dead bugs
Maintain normal breathing. End the set when you can no longer keep the ribs and pelvis controlled, even if the stopwatch says time remains. Longer is not automatically better. A 20-second hold with tension in the trunk is more useful than a 60-second survival position in the shoulders and lower back.
Conditioning movements
Conditioning should raise breathing without erasing coordination. Use fast marching instead of jumping when noise, joints, space, or current fitness make impact a poor choice. Stop the interval early if you feel dizzy, unusually breathless, or unable to control the landing and trunk position.
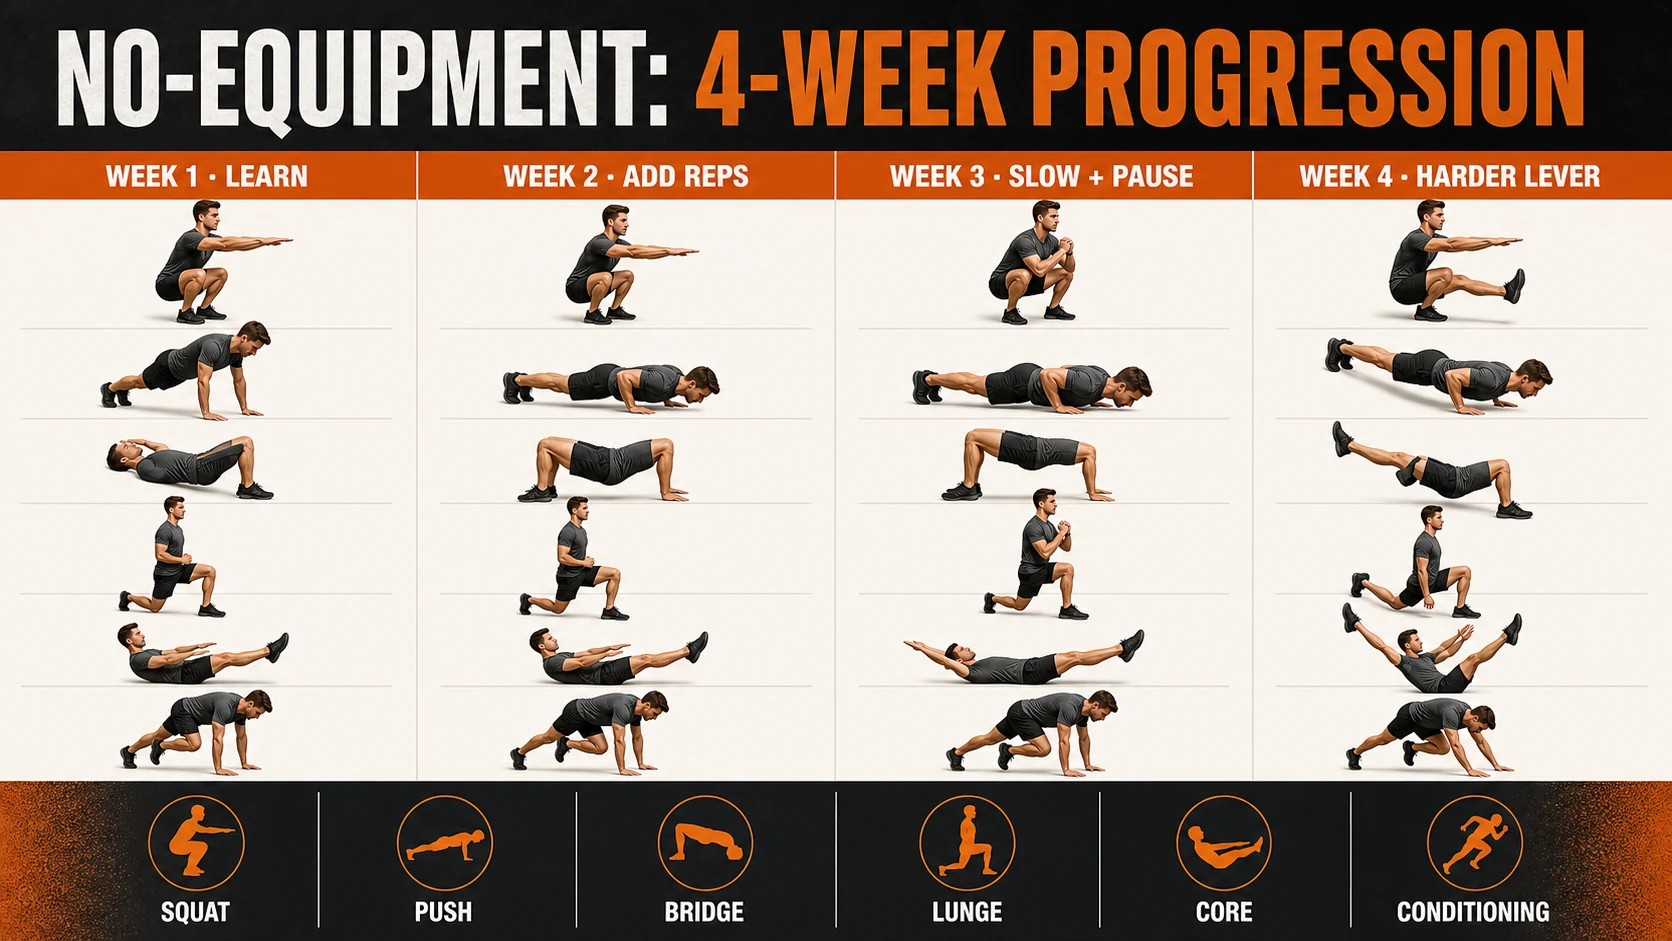
Your Four-Week No-Equipment Workout Plan
Use Monday, Wednesday, and Friday—or any schedule that places a rest day between sessions. Record the exercise version, repetitions, and whether the final set stayed clean. Progress only when you complete the top of the range without losing position.
| Week | Rounds | Progression rule | Effort target |
|---|---|---|---|
| 1: Learn | 2 | Use comfortable range and normal tempo. Stop every set with 2–3 clean reps available. | About 6/10 |
| 2: Add work | 3 | Add 1–3 reps per movement or 5–10 seconds to holds. Keep the same exercise versions. | About 7/10 |
| 3: Add control | 3 | Lower for three seconds on squats, push-ups, bridges, and lunges. Pause briefly in the hardest stable position. | 7–8/10 |
| 4: Increase leverage | 3–4 | Move one exercise to its harder version. Keep the remaining movements stable and reduce reps if necessary. | About 8/10 |
After week four, repeat the cycle with one harder movement in each pattern or move into a more detailed home workout routine. Do not upgrade every exercise simultaneously. That makes it difficult to know whether you progressed or simply accumulated fatigue.
How to Progress Without Adding Weight
If you want a broader foundation for progression, use the principles in strength training basics. The same logic applies whether the resistance comes from a barbell or your own body.
The Pulling Limitation Most Bodyweight Plans Ignore
Honest answer: A truly equipment-free floor routine cannot train loaded pulling through a useful range as effectively as rows, pull-ups, cables, or bands. Superman holds and reverse snow angels can train upper-back control, but they are not equivalent to a progressively loaded row.
Use prone Y-T-W raises or reverse snow angels for posture and shoulder-blade control, but do not label them a complete back-building solution. If long-term back strength or muscle is a priority, eventually use a secure pulling station, resistance band, gym, or another safe load. Never improvise rows from a door, table, railing, or furniture that was not designed to hold your bodyweight.
Three-Day and Four-Day Scheduling Options
Option A: Three full-body days
Use the complete six-movement session three times weekly. This is the best default for beginners, busy schedules, and anyone returning to exercise. On rest days, walk, perform light mobility, or use a gentle active recovery session.
Option B: Four shorter days
On Monday and Thursday, perform squat, lunge, bridge, and conditioning work. On Tuesday and Friday, perform push-ups, trunk work, upper-back control drills, and conditioning. Keep each session around 20–25 minutes. This split distributes fatigue but does not solve the no-equipment pulling limitation.
Muscle Gain, Fat Loss, and Realistic Expectations
Bodyweight training can build muscle when sets become progressively harder and finish reasonably close to technical failure. Beginners often respond well because the movements provide a new training stimulus. More experienced lifters may maintain muscle and improve control, but eventually need additional resistance for efficient progression—especially for the back and legs.
Fat loss does not come from selecting a special exercise. It requires a sustained energy deficit while training helps preserve muscle and fitness. Use the conditioning intervals to improve work capacity, not as punishment for eating. If your goal is consistency on a limited budget, combine this plan with the practical priorities in fitness on a budget.
Troubleshooting Common Problems
Push-ups hurt the wrists
Use a wall or stable counter to reduce load and keep the wrist angle more comfortable. Stop if pain persists; do not force depth.
Squats bother the knees
Reduce depth, slow down, use a chair target, and keep the foot planted. Pain is not a progression method.
The lower back takes over
Shorten the plank, switch to dead bugs, and reduce bridge height until you can keep ribs and pelvis controlled.
Everything feels too easy
Use slower eccentrics, pauses, longer ranges, unilateral variations, and harder leverage before adding endless repetitions.
Frequently Asked Questions
Can a no-equipment workout build muscle?
Yes, particularly for beginners and returning trainees. Sets must become progressively harder through repetitions, range, tempo, pauses, or leverage. Advanced trainees may need external resistance for efficient continued growth.
How often should I perform this workout?
Three full-body sessions per week is a reliable default. Leave at least one recovery day between sessions at first. Four shorter days can work if volume is divided thoughtfully.
Should every session include burpees or HIIT?
No. High-intensity intervals are optional conditioning tools. Strength-focused work benefits from controlled repetitions and enough rest to maintain technique.
What should I do after four weeks?
Repeat the cycle with one harder variation per movement pattern, or transition to a structured home program. Keep a training log so progression is based on performance rather than guesswork.
Is this enough for complete back development?
No. Equipment-free upper-back control drills are useful, but loaded pulling is a real limitation. Add safe rows, pull-ups, bands, or gym equipment when back strength and muscle become primary goals.
Bottom Line
A no-equipment workout works when it behaves like a program: balanced movement patterns, appropriate exercise levels, controlled progression, recovery, and honest limits. Run the first week exactly as written, record the versions you used, and change only one progression variable in week two. If you need more structure afterward, continue with the PrimeForMen home workout hub.
Training note: This guide is educational and is not a substitute for individualized medical or rehabilitation advice. Stop if an exercise causes sharp, worsening, or unusual pain.