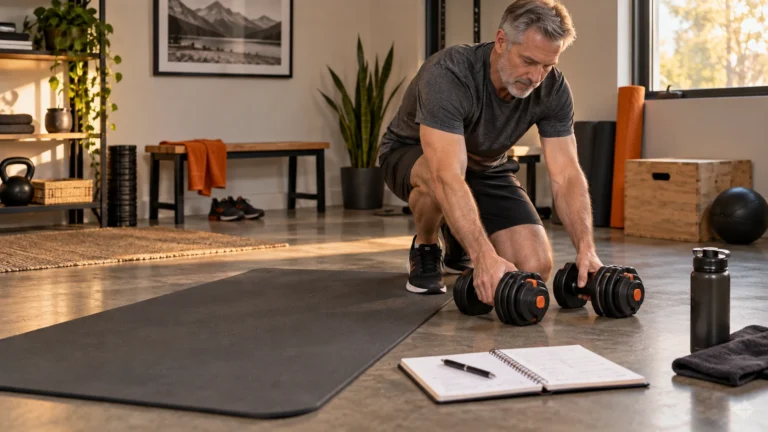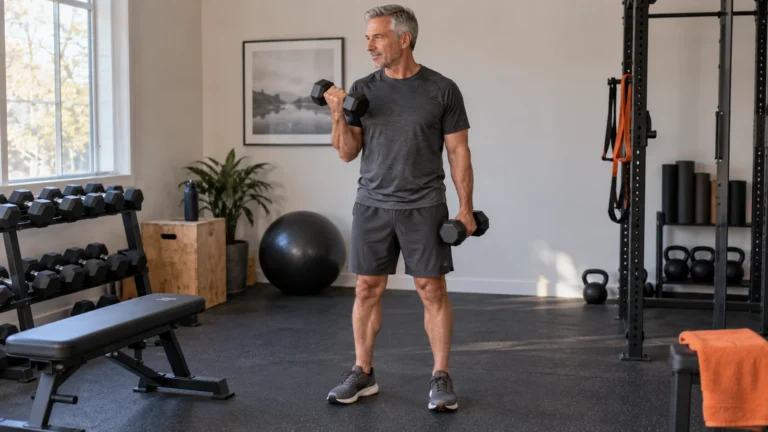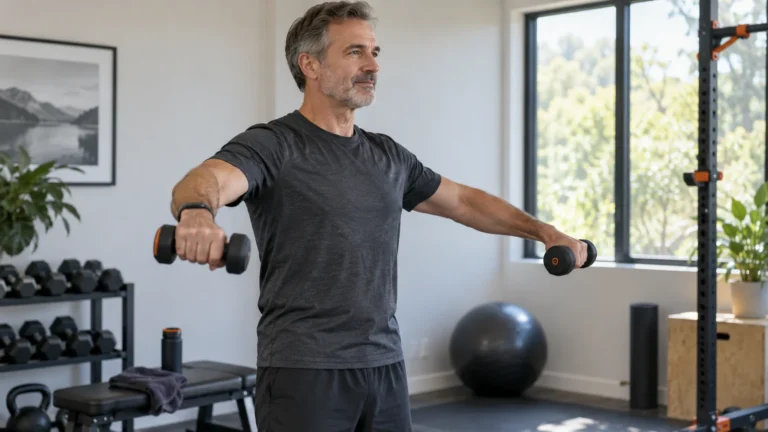
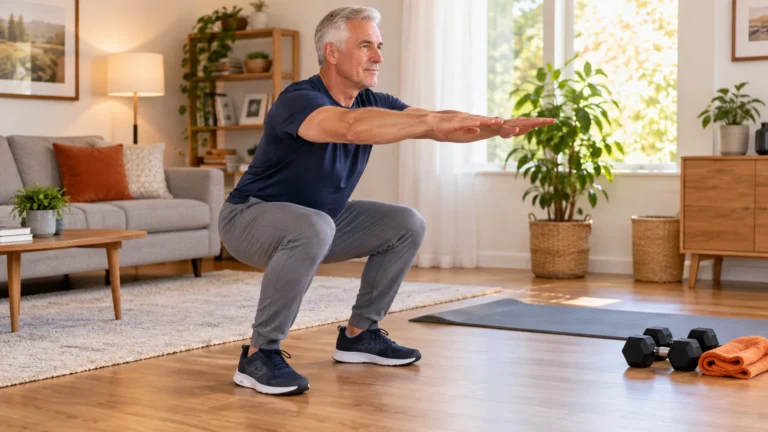
A four-week home workout with dumbbells, complete A/B/C sessions, reps, rests, easier options and a free fillable training log.
- Use complete A/B/C sessions with minimal equipment.
- Choose a two- or three-day starting schedule.
- Progress with clear rep ranges and recovery checks.
Bottom line Set out your equipment and complete the first manageable session before adding more work.
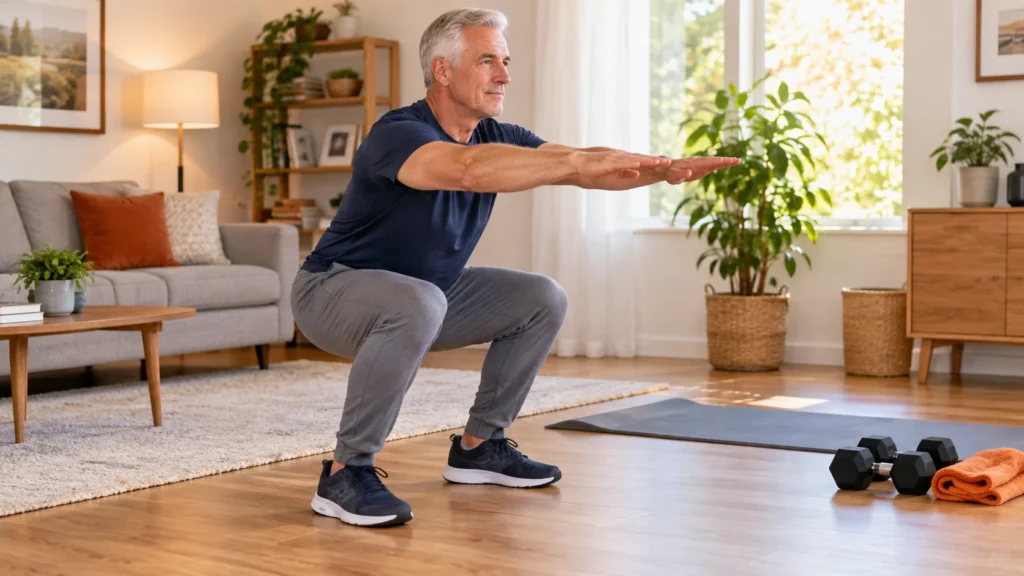
This full-body home workout is a four-week starting plan with three repeatable sessions, clear repetitions and a way to progress. It uses a pair of suitable dumbbells, a stable support and floor space. Bodyweight alternatives are included, but it is not a no-equipment promise: progressive pulling is easier to provide with resistance.
The Prime Perspective
A complete plan tells you what to do, how much to do and what to change next time. You should not have to invent the repetitions halfway through the workout. This is an editorial sample for generally healthy adults, including men over 50 who can perform the selected movements comfortably. It is not rehabilitation, an individualized assessment or a program tested in a PrimeForMen trial.
If you are starting after a long break, begin with the reduced version below and use our beginner home workout guide for additional context. Four weeks is a period for establishing and reviewing training, not a promise of a particular physical transformation.
Set Up Your Space and Choose Your Starting Version
Use dumbbells you can handle for both upper- and lower-body work; adjustable weights help when those needs differ. A firm chair against a wall can help with sit-to-stands, and a fixed countertop can support incline push-ups. Check that any support is stable, nonslip and appropriate for the load before leaning on it. Do not use rolling chairs, glass tables or improvised doorway anchors.
Clear enough room for the weights and your full movement range. Put unused weights outside your stepping area and keep pets and children away during sets. A mat can make floor exercises more comfortable but is optional. Our home gym equipment guide helps with setup decisions; this program does not require a bench, rack or pull-up bar.
Swipe sideways on a small screen to read every column.
| Starting point | First-week version | What to monitor |
|---|---|---|
| Returning after a long break | Two days: A and B; one set of each exercise. | Comfortable movement and whether normal daily activity feels manageable afterward. |
| Already doing some strength work | Three days: A, B and C; two sets of each exercise. | Finish sets with 2–3 good repetitions available. |
| Floor transfers or balance are difficult | Use supported standing alternatives and seek coaching for unclear movements. | Do not rush transfers or use weight to compensate for poor balance. |
Two days is a valid schedule. Rotate A/B in week one, C/A in week two, B/C in week three and A/B in week four. Apply progression after successful exposures to an exercise, not simply because a new calendar week has arrived. If you need a routine with absolutely no gear, use the separate no-equipment workout and recognize that it offers different pulling options.
Your Weekly Calendar
Swipe sideways on a small screen to read every column.
| Day | Plan | How to keep it manageable |
|---|---|---|
| Monday | Workout A | Squat, push, pull, bridge and trunk work. |
| Tuesday | Easy walking or mobility | Choose a comfortable amount; not another hard circuit. |
| Wednesday | Workout B | Hinge, push, pull, supported single-leg and trunk work. |
| Thursday | Rest or easy activity | Adjust to your recovery and other commitments. |
| Friday | Workout C | Repeat familiar patterns with controlled execution. |
| Saturday / Sunday | Easy activity and rest as needed | Do not cram missed workouts into consecutive hard days. |
The CDC adult guidelines include both aerobic activity and muscle-strengthening work. These workouts cover the strength component; gradually build your walking or other aerobic activity alongside them. The calendar is an example, not a requirement to complete every slot regardless of how you feel.
Warm Up and Set the Effort
Allow six to eight minutes: begin with two or three easy minutes of walking or marching, then five comfortable sit-to-stands or squats, five unloaded hip hinges and five easy wall push-ups. Rehearse the first weighted exercise with a lighter load. Add rehearsal time if a movement is unfamiliar; a warm-up is not a guarantee against injury.
For most sets, stop while you could still perform two or three more repetitions with the same technique. This is an estimate, not a test to failure. If you can barely complete the first repetition, reduce the load or choose an easier variation. Exhale through the harder part and avoid prolonged breath-holding.
Rest around 90–120 seconds between demanding work sets. Take 60–90 seconds for comfortable bridge or trunk work, and longer if breathing or control has not recovered. Complete both sides of unilateral exercises before taking the main rest. These are straight sets, not a race through a circuit.
Workout A: Squat, Push and Pull
Swipe sideways on a small screen to read every column.
| Exercise | Work sets × reps | Execution / easier option |
|---|---|---|
| Goblet squat | 2 × 6–10 | Hold one weight at chest height; use bodyweight or sit-to-stand first if needed. |
| Incline push-up | 2 × 6–10 | Hands on a fixed stable surface; use the wall to make it easier. |
| Supported one-arm row | 2 × 8–12 per side | One hand braced on a stable support; move the weight without twisting. |
| Glute bridge | 2 × 8–12 | Raise hips comfortably without arching the lower back. |
| Dead bug | 2 × 5–8 per side | Move slowly; shorten the limb movement if the trunk loses control. |
For the squat, keep your whole foot in contact and allow your knees to move with your toes; there is no universal rule that knees must stay behind toes. Descend only as far as you can control comfortably. For a row, keep shoulders away from your ears and draw the elbow toward your hip. A lighter controlled row is preferable to turning the torso to move a heavier weight.
Workout B: Hinge and Supported Single-Leg Work
Swipe sideways on a small screen to read every column.
| Exercise | Work sets × reps | Execution / easier option |
|---|---|---|
| Dumbbell Romanian deadlift | 2 × 6–10 | Knees slightly bent, hips travel back, weights stay close to legs; rehearse unloaded first. |
| Dumbbell floor press | 2 × 6–10 | Lower upper arms gently to the floor; use incline push-ups if setup is difficult. |
| Supported one-arm row | 2 × 8–12 per side | Repeat the familiar row; you do not need a new pull every session. |
| Supported split squat | 2 × 6–8 per side | Keep feet in place and use stable hand support; shorten depth if needed. |
| Suitcase hold | 2 × 15–25 seconds per side | Stand tall holding one dumbbell; avoid leaning or holding your breath. |
A Romanian deadlift starts standing and moves through a hip hinge. It does not require the dumbbells to touch the floor. Stop the descent before your back position changes or you lose control. For the floor press, bend your knees, keep feet planted and use weights you can set down safely. If getting down and up is a barrier, the incline push-up covers the push slot.
Watch the hip hinge
NASM’s short Romanian-deadlift demonstration shows the hip-back movement and soft knees. Watch the movement path before adding weight. Use the rep range in this article rather than adding extra work from another routine.
Workout C: Repeat and Refine
Swipe sideways on a small screen to read every column.
| Exercise | Work sets × reps | Execution / easier option |
|---|---|---|
| Goblet squat or sit-to-stand | 2 × 6–10 | Use the same variation as A so progress is comparable. |
| Incline push-up | 2 × 6–10 | Keep the same hand height unless you have earned a harder variation. |
| Supported one-arm row | 2 × 8–12 per side | Match your controlled range on both sides. |
| Glute bridge | 2 × 8–12 | Keep the top position comfortable; no need for a loaded hip thrust. |
| Dead bug or suitcase hold | 2 × 5–8 per side OR 15–25 sec per side | Choose one; do not add both simply to make the session longer. |
C deliberately repeats familiar exercises. Repetition makes technique and load comparisons easier, and avoids turning every Friday into a new-skill test. If A or B left you unusually fatigued, make C one set per exercise or take another recovery day instead.
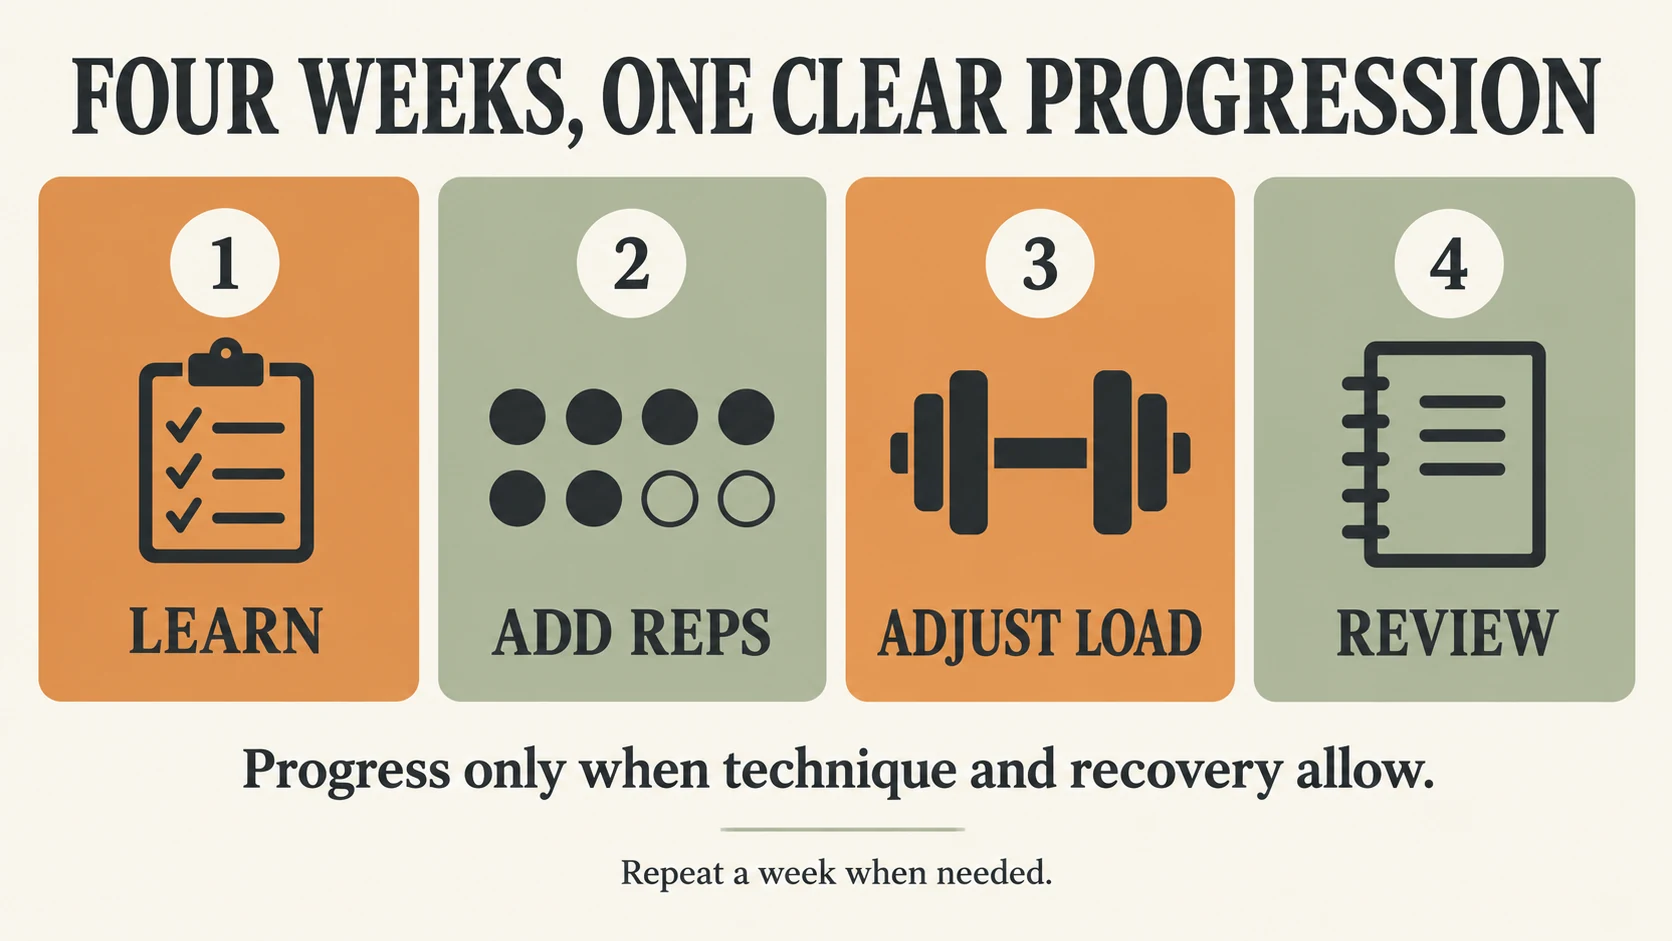
Four-Week Progression With a Worked Example
Swipe sideways on a small screen to read every column.
| Week | Change | Example / check |
|---|---|---|
| 1 — Learn | Choose manageable variations and establish the baseline. | Squat: 2 × 6 with the same comfortable weight. Returners may use one set. |
| 2 — Add reps | Add one rep to a set when the previous work was controlled. | Squat: 7/6, then 7/7, building within 6–10; no obligation to add each session. |
| 3 — Adjust only if ready | At the top of the range on both sets for two exposures, try the smallest load increase. | After 10/10 twice with reserve, increase modestly and return toward 6/6. Otherwise continue reps. |
| 4 — Review | Compare the same variation, load, range and effort. Keep or reduce work based on recovery. | More clean reps at similar effort is progress. Do not schedule a one-rep-max test. |
Suppose your row begins at eight repetitions on each side for both sets. You eventually reach twelve on every set with a stable torso and a few good reps left. After doing that on two exposures, try the smallest practical increase and return toward eight. If the next dumbbell is too heavy, keep the current load. There is no deadline to move up.
For incline push-ups, record the actual surface or hand height so the next session is comparable. Reaching ten repetitions with a sagging torso is not the same as ten controlled reps. For holds, build within the time range first. Change load, range, repetitions or difficulty one at a time.
If you are still learning a movement in week three, continue learning it. Repeating a week is a normal adjustment. For broader progression principles, see strength training at home.
What a Session Looks Like on the Clock
Allow about 35–50 minutes for the two-set version. Use 6–8 minutes for warm-up and rehearsals, around 20–30 minutes for the first three movements, then 8–12 minutes for accessories, transitions and logging. Your actual pace will vary, especially when doing both sides. Take the rest you need rather than squeezing a longer session into a fixed promise.
The 20-minute fallback
Use five minutes to warm up, then one controlled set each of your squat or hinge, incline push-up, row on each side and dead bug or suitcase hold. Rest as needed and use any time left for one additional familiar set. This is a reduced session, not an equivalent replacement for all ten planned sets. It keeps the habit on a busy day. Our quick workout guide offers more short-session ideas.
Alternatives for Common Home Limitations
Swipe sideways on a small screen to read every column.
| Limitation | Adjustment | Important distinction |
|---|---|---|
| No dumbbells yet | Use bodyweight squats, incline push-ups, bridges and trunk work; consider an appropriate resistance option for rows. | Reverse snow angels can train control but are not an equivalent replacement for progressively loaded rows. |
| Balance limits split squats | Use firm hand support, a shorter comfortable range, or repeat sit-to-stands. | Stability should support the movement rather than become a struggle under load. |
| Floor work is awkward | Use incline push-ups and suitcase holds; use standing hip-hinge practice as appropriate. | These are substitutions, not identical muscle-loading effects. Get help if transfers are unsafe. |
| Very small or shared room | Use stationary holds instead of carries and avoid jumps. | Quiet training can still be challenging; protect space for each movement. |
| Persistent joint pain | Stop the provoking movement and arrange assessment or qualified modification. | Do not treat a variation table as a diagnosis or rehabilitation plan. |
Track the Work, Then Decide What Comes Next
Record variation, load, repetitions on each set, approximate reps left and next-day response. The downloadable log provides one sheet for each week with A/B/C fields and a review area. If training twice weekly, write the actual session names instead. Save each completed file locally.
Download: Four-week home training log (fillable PDF)
Save a copy, open it in a PDF reader that supports forms, and save again after entering notes. Your entries stay in your file; this page does not collect them.
At the end of four weeks, ask whether you completed the sessions, controlled the movements and improved repetitions or load without sacrificing recovery. Continue the same plan if it is working. Add a third set to one priority exercise only after the current work is consistently manageable; do not increase every exercise, weight and conditioning session at once.
Regular meals, enough fluids and adequate sleep support the work. Supplements are not a requirement. If muscle gain is your goal, use the protein planning tool as a starting aid for food choices, not a medical prescription. Questions about hormones are addressed separately in exercise and testosterone; this workout promises no hormone change.
Conclusion
Choose your starting version, place the sessions on your calendar and complete the first week with manageable effort. Keep the exercises recognizable, record what you actually do and earn each progression. A plan you can repeat and evaluate is more useful than four weeks of unrelated exhausting circuits.
Frequently Asked Questions
Can I follow this with no equipment?
Some movements need only bodyweight, but the main plan uses dumbbells for loading and pulling. Use the linked no-equipment guide if you cannot access resistance; do not assume an unloaded shoulder movement fully replaces a row.
Can a beginner train only twice per week?
Yes. Rotate A/B, C/A, B/C and A/B over four weeks. Start with one set when appropriate and progress after successful exposures rather than by the date alone.
Will I build visible muscle in four weeks?
You may improve skill, strength and consistency, but visible changes vary. Four weeks does not guarantee a particular amount of muscle or fat loss.
What if my dumbbells become too light?
First use the full controlled rep range. Then consider a modest load increase or an appropriate harder variation. Avoid unlimited rushed repetitions or unstable improvised loads.
Should I train through soreness?
Mild soreness and sharp or worsening pain are different. If movement or daily activity is substantially affected, reduce or delay the session. Persistent or concerning symptoms need assessment.
Training and medical boundary: This sample is educational, not individualized coaching or rehabilitation. Stop for sharp or increasing pain; chest pain, fainting or severe unexplained breathlessness warrant urgent medical assessment. Featured and infographic images are AI-generated illustrations, not documentation of a tested transformation. See our editorial policy.