Learn six core stability exercises with setup cues, breathing, easier variations, a practice example and a printable observation record.
- Keep breathing as a limb, support or load changes.
- Shorten the reach or reduce the dose when control changes.
- Practise one familiar version and record what you observe.
Bottom line Use a controllable drill, make one adjustment when needed and get individual guidance for symptoms, restrictions or unfamiliar movements.
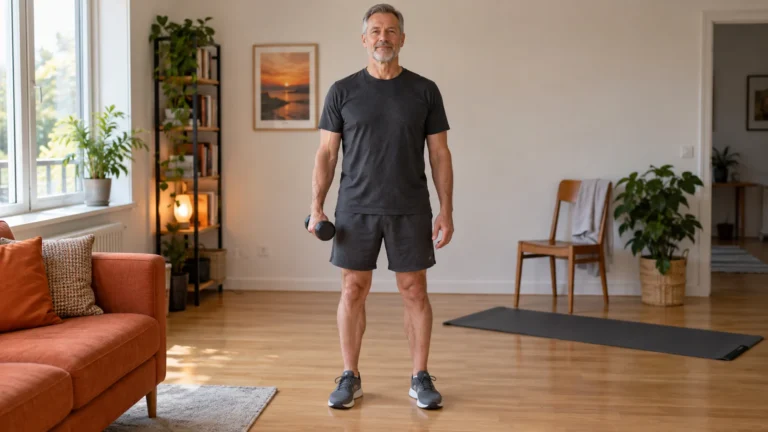
Core stability exercises train control of the trunk while a limb, load or support changes. Look for a controlled movement, a deliberate return and continued breathing. A longer plank or a higher leg lift does not, by itself, establish that control.
This guide explains six movements, their easier versions and the first adjustment to consider when control changes. It includes a small practice example and an observation helper. For complete home sessions with weekly scheduling and actual-work records, use our core workouts at home guide. Neither article assesses medical suitability or replaces an individual rehabilitation plan.
Quick Summary: Core Stability Exercises
- Use a controllable movement and support position, with ordinary breathing.
- Practise resisting unwanted arching, turning and side-bending, plus control of the pelvis.
- Change reach, support, duration or resistance one at a time.
- Record the version and what actually changed; a timer is not a form assessment.
- Symptoms and unresolved restrictions call for qualified guidance rather than a harder variation.
The Prime Perspective
Stability is specific to the task. Holding a short side plank, controlling an opposite-arm reach and carrying a one-sided load are related but different challenges. Practise the version you intend to use. A long plank hold does not establish control in every other movement.
Stability does not mean keeping the spine frozen
Your trunk normally moves. A stability drill asks you to control a particular movement while another part of the body works. During a bird dog, for example, the limb reaches while the torso stays relatively steady; during a carry, walking continues while you resist excessive leaning. That is different from a rule that your back must never bend or turn in ordinary life.
| Quality | Useful question | Example |
|---|---|---|
| Strength | Can I produce force against this resistance? | A progressively loaded exercise. |
| Endurance | Can I sustain the chosen work? | A hold or repeated set with maintained execution. |
| Stability | Can I control the intended position as the task changes? | A short limb reach without an unwanted torso turn. |
| Mobility | Can I access the movement range this task needs? | A comfortable hip or shoulder range for the chosen setup. |
An exercise can involve several of these qualities. “Core stability” is not a diagnosis of weak deep muscles, a posture score or proof that one structure is causing pain. In the NASM bird-dog instructions, controlled opposite-limb movement and a stable torso are central to the task. We use that practical emphasis here without promising that a particular drill prevents injury.
Recognize the four training jobs
Resist unwanted arching
A heel slide, dead bug or appropriate plank can challenge the trunk as the lever moves farther away. Keep the range you chose; reduce it when the position changes.
Resist unwanted turning
A bird dog or properly set up Pallof press asks you to control rotation rather than let the reach or resistance pull you around.
Resist unwanted side-bending
A side plank or one-sided hold asks you to support the torso without collapsing sideways. The shoulder or grip can limit the task too.
Control the pelvis with the hips
A bridge asks the hips to move while the chosen trunk position remains controlled. Lifting higher is not necessarily better.
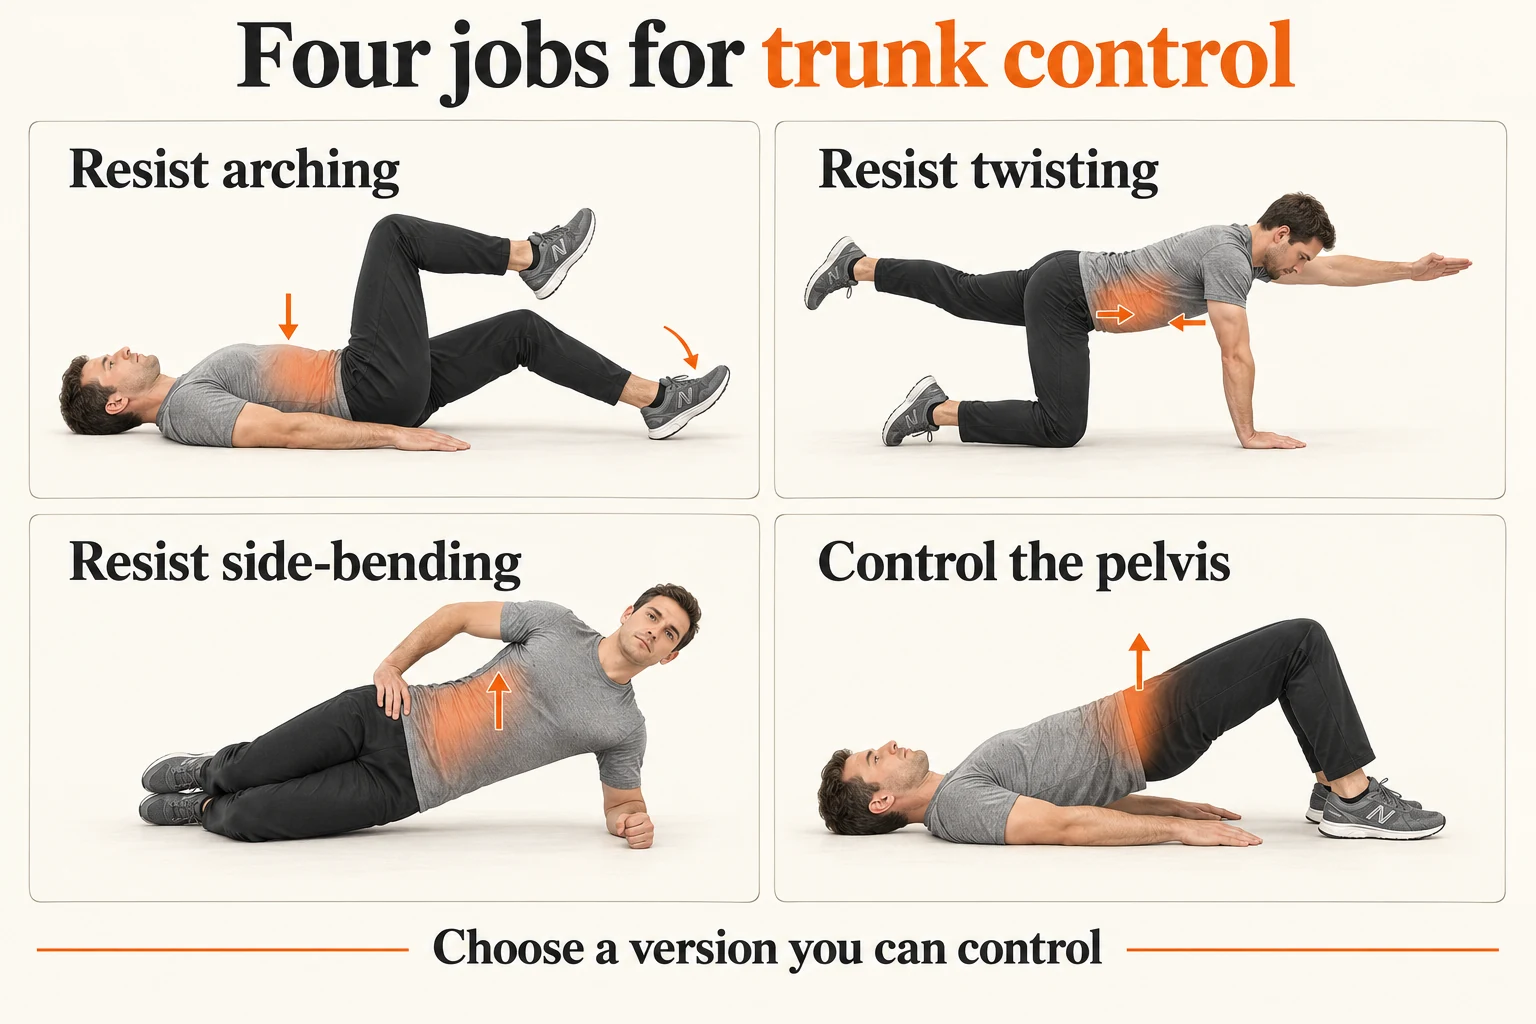
These are teaching categories, not four isolated muscle systems. A single movement often covers more than one job. For your first practice, choose a small number of familiar examples rather than perform every exercise in the article. Start with the beginner core workout if all of these setups are new.
Optional equipment for specific core exercises
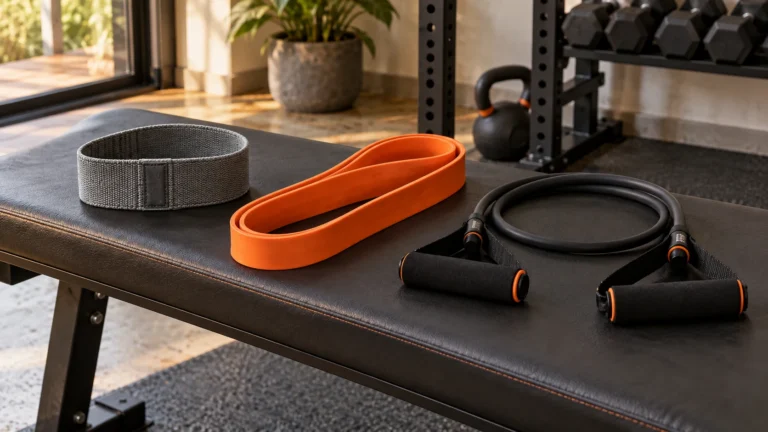
The floor sessions need no band or weight. These options support mat work or the optional anchored and one-sided exercises. Use equipment you already own when it fits. We have not independently tested these products.
* As an Amazon Associate, PrimeForMen earns from qualifying purchases. Check the selected size, pack and current instructions before ordering.
Best for: For floor space and cushioning when a mat suits your room and movements. Skip if your existing surface already works. Current Amazon listing: Gorilla Mats Large Exercise Mat - 6x4/7x4/7x5/8x4/10x4 ft - Home Gym Mat Best for: For an optional Pallof press with a compatible, securely installed anchor. Skip if you cannot confirm the anchoring instructions. Current Amazon listing: WHATAFIT Resistance Bands with Handles, 150 lb Exercise Bands Set Best for: For an optional familiar one-sided hold or carry with an appropriate load and clear route. Skip if grip, setup or exercise suitability is uncertain. Current Amazon listing: Amazon Basics Adjustable Dumbbell with 5 Weight Options, 25 lb, Single Dumbbell, Black * As an Amazon Associate, PrimeForMen earns from qualifying purchases.Recommended Products

Gorilla Mats large exercise mat
View on Amazon

WHATAFIT resistance bands with handles
View on Amazon
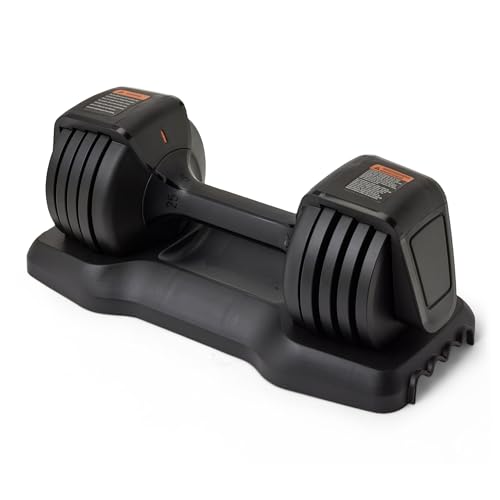
Amazon Basics adjustable dumbbell, 25 lb, single
View on Amazon
Brace enough for the drill and keep breathing
Start in an easy supported position. Let the breath out comfortably, settle into the trunk position you intend to use, and create moderate abdominal tension. Continue taking ordinary manageable breaths. You do not need to suck the abdomen in as hard as possible, force the ribs downward or flatten every natural spinal curve.
A useful check in these low-load drills is whether you can breathe and return from the movement without changing the task to finish. If you can only complete it by holding your breath, shorten the reach, hold or set. This does not tell you which muscle is “inactive”; it tells you the current version needs adjustment or instruction.
Heavy lifting can involve stronger bracing and different breathing strategies. The instructions here do not teach a maximal lifting brace or a prolonged breath hold. Exercise restrictions, cardiovascular concerns and uncertainty about breathing under load should be discussed with a qualified professional. Keep loaded practice inside an appropriate strength-training foundation.
Six core stability exercises, with a first adjustment for each
The instructions below describe general practice for suitable familiar movements. The listed dose examples are editorial starting structures, not tests that clear you for training. Use less work or a different appropriate exercise when needed. In every movement, stop for new sharp, worsening or unusual pain instead of treating it as another form error.
1. Heel slide and short dead bug
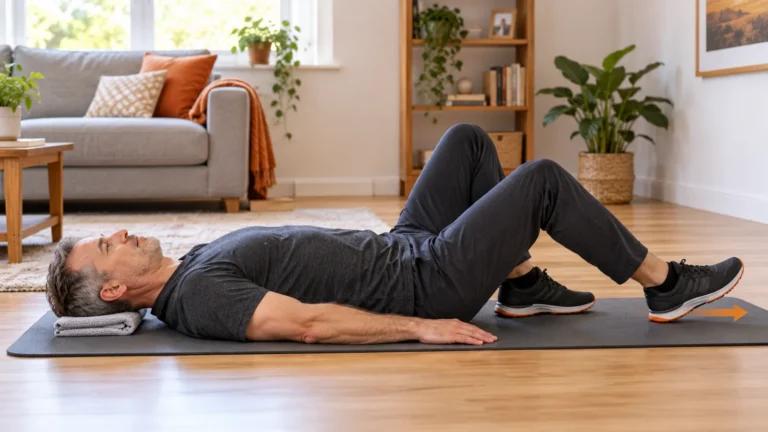
Set up: lie on your back with bent knees and both feet supported for a heel slide. Let the head rest. Choose a comfortable trunk position and lightly brace; there is no need to push the back down painfully.
Move: slide one heel away without lifting it from the mat, then bring it back. Keep the reach short enough that the ribs, pelvis and back do not change position just to finish the repetition. For a familiar dead bug, raise bent legs and arms to the start position and reach one arm with the opposite leg, returning before changing sides.
First adjustment: shorten the leg reach or keep an arm still. Move from raised-leg work back to a supported heel slide when the starting position itself is hard to control. A practice example is four slow reps per side, with rest before repeating. Count individual left and right reaches, not just one alternating pair.
Technical stop: the back arches farther, the pelvis turns, the return becomes rushed or breathing stops. These observations are reasons to modify the drill, not evidence of spinal damage.
2. Bird dog
Set up: use hands under shoulders and knees under hips on a stable mat. Keep the neck comfortable and look toward the floor. Practice the four-point position before removing a support.
Move: start with one arm reach or one foot slide if appropriate. In a familiar opposite-limb version, reach one arm forward and the other leg back, pause briefly and return to the start. Reach away rather than upward; keep the hips facing the floor.
First adjustment: shorten the reach, slide the foot along the floor or move one limb while the other supports stay planted. Four reps per side with a brief two-second pause is one practice example. The pause should not become a breath hold.
Technical stop: the torso turns, hips swing, the support hand shifts unexpectedly or you lift the leg by arching. Do not add a band to hide poor control. Wrist or knee discomfort may require a different support or another drill rather than a longer set.
Watch the bird-dog setup and common changes in control
In this Point Performance clip, physical therapist Chris Ricardo, DPT, explains the bird dog with a demonstrator. Watch the hand-and-knee setup, the opposite-limb reach and how trunk position can change. The clip teaches one exercise; it does not assess your symptoms or prescribe a rehabilitation program.
Watch this technique clip on YouTube if the embed does not play.
3. Bent-knee side plank
Set up: lie on your side with the elbow below the shoulder and knees bent. Use a surface that does not let the elbow slide. Keep the upper arm and shoulder comfortably supported rather than shrug into the ear.
Move: raise the hips enough to support a comfortable line through the shoulder, hip and knees. Keep the chest facing the same direction while breathing. Lower deliberately, rest and change sides.
First adjustment: use a shorter hold with the same knee support. An eight-second hold per side can be a useful practice example when appropriate. A full-leg side plank lengthens the task and changes its support; it is not automatically the next exercise just because eight seconds feels easy.
Technical stop: hips drop or roll, the shoulder collapses, the forearm slips or breathing becomes difficult. Shoulder pain needs reassessment of the task, not a cue to force the hips higher.
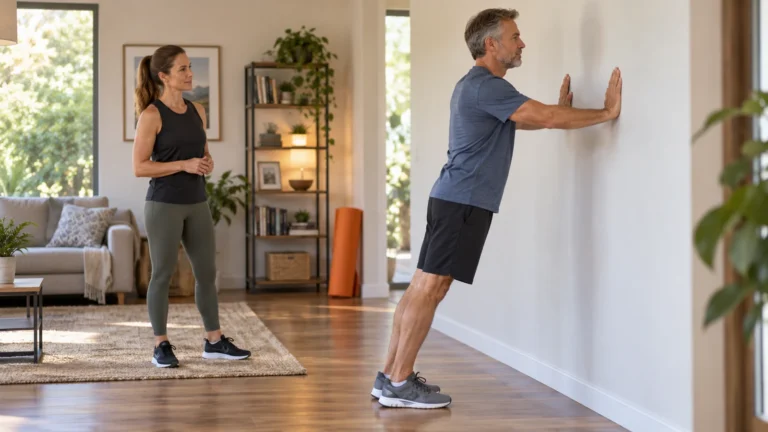
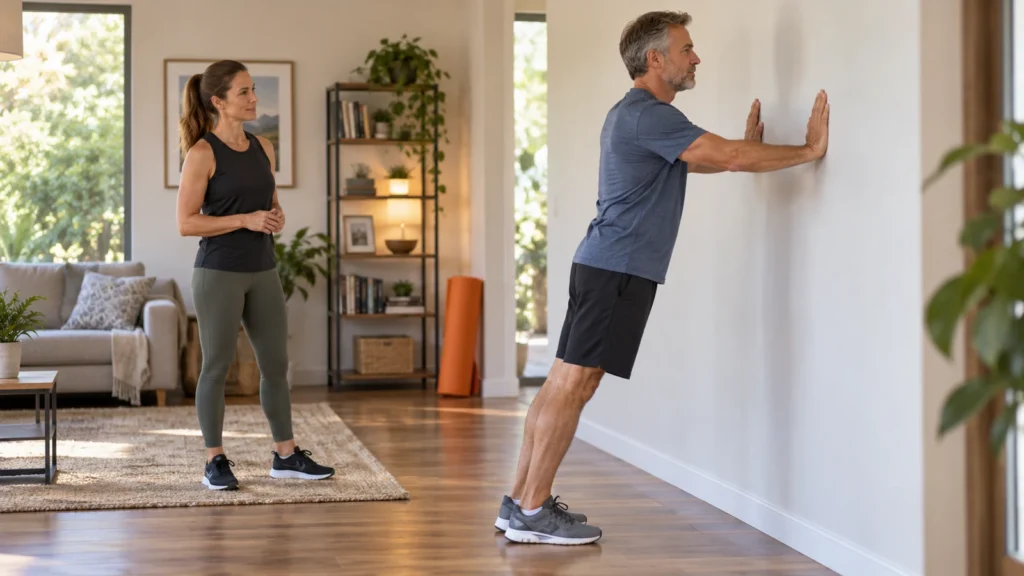
4. Elevated front plank
Set up: place your hands on a fixed solid wall or another suitable stable surface. Choose a height and distance that you can control, with feet securely placed. Avoid wheeled furniture, folding supports or improvised block stacks.
Move: keep a comfortable line through the body while breathing. For a familiar lower support, the exercise becomes more demanding; for a new setup, begin more upright. A practice example is a ten-second hold followed by a complete reset.
First adjustment: use a higher fixed support or stand nearer the wall. This reduces the demand without requiring a floor transition. Do not move the feet farther away during a set and then compare its duration with the previous position.
Technical stop: the lower back sags, shoulders become uncomfortable, the support moves or you cannot keep breathing. A wall version is an option, not a universally suitable exercise for every shoulder or balance problem.
5. Two-leg bridge
Set up: lie on your back, knees bent, both feet planted and head supported. Choose a comfortable foot position you can keep through the set.
Move: lift the hips through a controlled range, pause briefly and lower. Stop the lift before it turns into a large back arch. Six controlled repetitions is one practice example.
First adjustment: reduce the lift height and reset the feet. If hamstrings cramp or symptoms appear, stop and reassess rather than keep forcing the same pattern. Lifting one foot for a march changes the support; try it only as an appropriate familiar variation, with a reduced dose if needed.
Technical stop: the pelvis rocks from side to side, the back extends to gain height, feet slip or the descent becomes uncontrolled. Record a comfortable lift height you can reproduce; arching farther to gain height changes the task.
6. Pallof press, with a verified band setup
Set up: use a band and anchor approved for the intended exercise and pull direction. Inspect the attachment and band for wear. Stand sideways to an anchor near chest height and hold the handle close to the chest with a manageable stance and light resistance.
Move: press the hands away without turning toward the band, pause briefly, then return. Breathe through the movement. Four controlled repetitions per side is an example of technical practice after the setup is familiar.
First adjustment: use less band tension or keep the hands closer to the chest. Moving the hands farther away changes the lever; stepping farther from the anchor changes tension. Change only one of them at a time. If you cannot verify the anchor, use an appropriate no-anchor drill instead.
Technical stop: the trunk turns, you lean, the band or attachment shifts, the return snaps back or breathing stops. Band color and the set’s advertised combined resistance do not tell you the exact resistance at your hands. The resistance-band guide explains broader equipment choices.
Review one familiar drill
This helper organizes your stated choices and observations. It cannot assess technique, diagnose symptoms or decide whether exercise is medically appropriate.
Without the helper, use the written exercise instructions and session example. New movements need instruction; symptoms, restrictions and uncertainty need individual guidance. Record the version, actual work and rest before considering one change.
Use a short practice session to observe technique
Choose movements you already know are appropriate. The following example gives you five blocks in one round, because the side plank is listed once for each side. Reps are deliberate; the holds are short. Rehearsal and getting into position are separate from the work.
| Block | Example work | Rest afterward |
|---|---|---|
| Heel slide or familiar short dead bug | 4 reps per side | 30 to 60 seconds |
| Bird dog: chosen familiar version | 4 reps per side, brief 2-second pause | 30 to 60 seconds |
| Knee-supported side plank, left | 8-second hold | 30 to 60 seconds |
| Knee-supported side plank, right | 8-second hold | 30 to 60 seconds |
| Two-leg bridge | 6 reps | Reset and review; rest 60 to 90 seconds before an optional second round |
Do one round when that is enough useful practice. A second round is optional when its dose is appropriate and execution remains consistent. The moving blocks have eight individual reaches each; that arithmetic does not turn them into a standardized readiness test. The whole session has no guaranteed finish time because setup, movement speed and rest vary.
A low-fatigue practice block can precede general training when it helps rehearse a familiar setup. Harder stability sets belong where their fatigue does not interfere with the lifts that follow. Plan them with the rest and recovery guidance; do not assume that twice as much core work gives twice the benefit.
Change the challenge without changing everything
In a dead bug, a bent leg kept closer to the body is different from a straighter leg reaching farther away. In a wall plank, standing nearer the support differs from stepping back. Use those changes deliberately instead of adding repetitions while the setup drifts.
Shorten a reach when the task changes
The abstract frame stays fixed while one reach point moves. It illustrates shortening the reach and keeping breathing; it is not anatomy, a force model, or a demonstration of exercise technique.
Silent, 8.5 seconds. Open the animation directly. Playback pauses offscreen; reduced-motion preferences keep playback manual. The written instructions remain available above.
| Variable | Make the task easier | A possible later change | Keep constant for comparison |
|---|---|---|---|
| Reach | Shorter arm or leg movement | A slightly longer controllable reach | Exercise, reps and rest |
| Support | Keep more supports planted or use a higher fixed surface | Remove one support or lower the surface when appropriate | The remaining setup and dose |
| Work | Fewer reps or a shorter hold | One rep or a small hold-time increase | Version and movement range |
| Resistance | Lighter appropriate band or load | A small suitable increase | Anchor distance, stance, reach and dose |
Example: the bird-dog reach changes before the rep count
Record “one-arm reach, four reps per side, normal breathing.” After repeating that version comfortably, you may consider a short opposite arm/leg reach if appropriate. Use an initial dose that suits that new task; four reps of each are not interchangeable performance scores.
If the pelvis turns during the second opposite reach, return to a shorter reach or one limb next time and record the change. You have identified a task limit, not proved that your pelvis is unstable in daily life. Video feedback or an instructor can clarify what changed when your own observation is uncertain.
Example: a hold changes without a new support
Record an eight-second knee-supported side plank on each side. Repeated comfortable practice might support trying ten seconds with the same position. If you instead use straight legs, treat that as the main change and reconsider the hold duration. There is no rule that everyone should reach a full plank by week four.
Keep a record you can bring to practice
Download my core stability observation record (fillable PDF). Its eight fields capture the version, actual work, rest and what to review next. Save after filling, or print and write by hand. The helper print button creates a separate record with your current choices, notes and checkmarks.
Troubleshoot the first change you can actually observe
| Observation | First action | When another rep is not the answer |
|---|---|---|
| Back arches farther during a reach | Shorten the reach and reset the start position. | If the shorter version causes symptoms or the setup is unclear, stop and get guidance. |
| Torso turns during bird dog or Pallof press | Keep one more support planted, shorten the reach or reduce resistance. | Do not add speed to get past the difficult part. |
| Shoulder pinches during a plank | End the set; reassess support or use a different appropriate drill. | Persistent pain is not fixed by insisting on a perfect-looking plank. |
| Breath holding is the only way to finish | Reduce the reach, hold time or dose. | Unusual breathlessness, dizziness or feeling unwell means stop and seek appropriate help. |
| Mild shaking with otherwise controlled movement | Observe it; stop when it disrupts the task. | Shaking alone does not identify injury or automatically require progression. |
Keep equipment and transfer claims realistic
An unstable ball is optional variety, not a requirement for core stability. Stable ground makes the chosen reach and support easier to reproduce. Add complexity only when it serves a task you intend to train. A one-sided carry adds grip, balance and walking demands that a floor drill does not establish.
Learning these movements can support the control needed in other exercises, but a plank does not replace squat practice, running or sport-specific training. Combine technique with appropriate progressive resistance and the actual activity. Our unilateral training guide explains additional one-sided tasks without treating them as universal upgrades.
Back pain has many possible contributors. These exercises are not a test for its cause. The NHS back-pain guidance calls for emergency assessment when back pain occurs with new bladder or bowel problems, loss of feeling around the genitals or anus, or pain, tingling, weakness or numbness in both legs. Use local emergency services when appropriate. Persistent pain, fever, major trauma or rapidly worsening symptoms require professional advice rather than another self-selected progression.
Conclusion
Choose a familiar core stability exercise, define its setup and move only through a range you can control while breathing. Record what changed and adjust that variable first. Once the version is repeatable, consider one suitable change in reach, support, work or resistance; keep the other details steady. No hold time or helper result establishes medical readiness.
Turn technique practice into a broader plan
Use the core workout hub to connect first practice and complete home sessions. The PrimeForMen editorial policy explains our evidence and affiliate approach.
Frequently Asked Questions About Core Stability Exercises
How is core stability different from core strength?
Strength concerns force; stability concerns control during the chosen task. Exercises often train both. A strong effort or long hold does not establish controlled movement in every other exercise.
Should I hold my breath to brace?
Keep breathing during these low-load drills. Use only enough tension for the task, and simplify it when a breath hold is the only way to finish. Maximal lifting strategies are a different subject and may need individual instruction.
Which core stability exercise is safest?
There is no universally safest version. Suitability depends on the person, symptoms, setup and dose. Supported heel slides, one-limb bird dogs or higher wall support offer ways to change the task, but none clears a restriction.
Do I need a band or stability ball?
No. Several drills use a stable floor or wall. A band adds an anchored anti-rotation option only when its setup is verified. A stability ball adds complexity and is not required to begin.
When should I progress beyond an easier version?
Consider one small change after repeated comfortable practice with consistent control and breathing. There is no automatic calendar rule. If observation is unclear or symptoms persist, get feedback rather than use the helper as clearance.
This is general exercise education, not diagnosis or individualized medical or rehabilitation advice. Symptoms, restrictions and uncertainty about suitability need qualified guidance. Do not use a completed drill or the observation helper to clear yourself for training.