
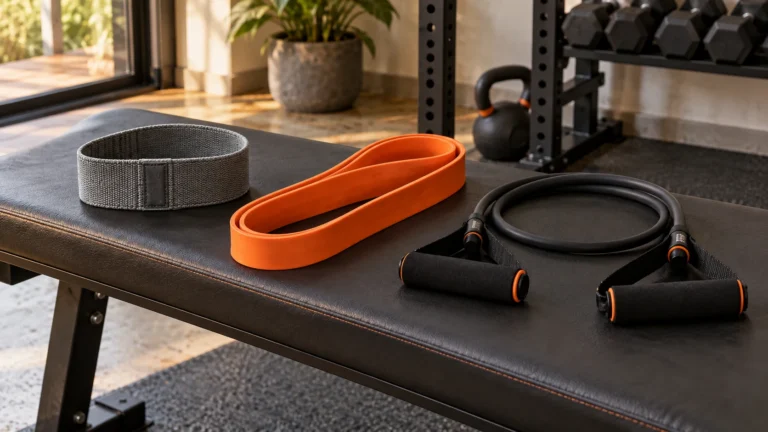
Compare mini loops, long loops and tube bands, check anchors and tension, and use a simple starter routine with a free setup and training log.
- Match mini loops, long loops or tubes to the intended task.
- Inspect the band, connectors and anchor before loading.
- Record setup and stretch so sessions are comparable.
Bottom line Choose your first exercise, verify its attachment and record the starting position before shopping for more bands.
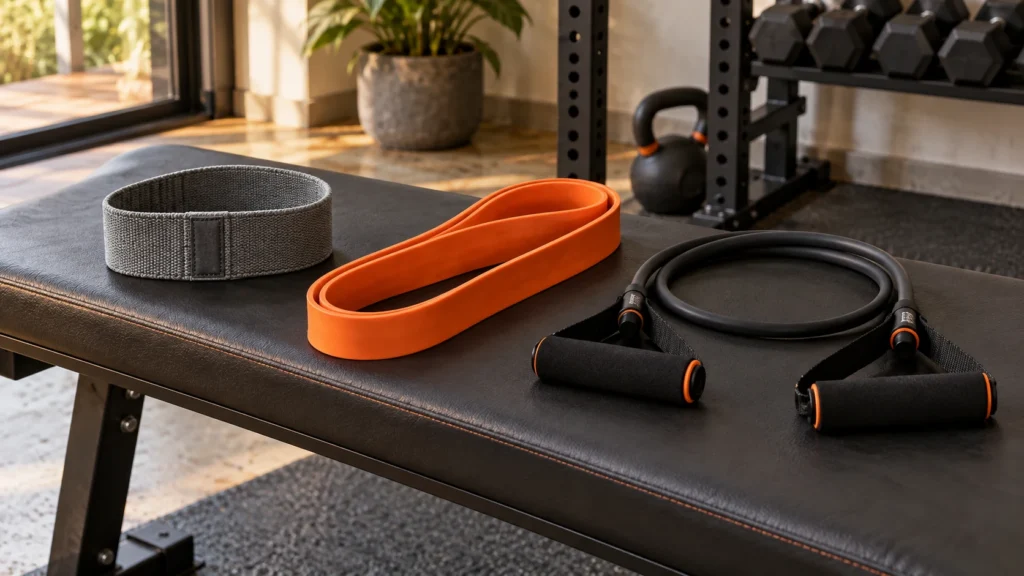
Choose resistance bands by the exercise and the attachment they need. A large bundle is not automatically a useful set. This guide compares the main types, explains what resistance labels cannot tell you and gives you a repeatable starting routine.
Quick Summary: Resistance Bands
- Match mini loops, long loops or tubes to the intended task.
- Inspect the band, connectors and anchor before loading.
- Record setup and stretch so sessions are comparable.
The Prime Perspective
A band is useful when its resistance and setup fit the movement. The best purchase may be one suitable band rather than a bundle of accessories. This is a category guide, not a hands-on test or a ranking of named products.
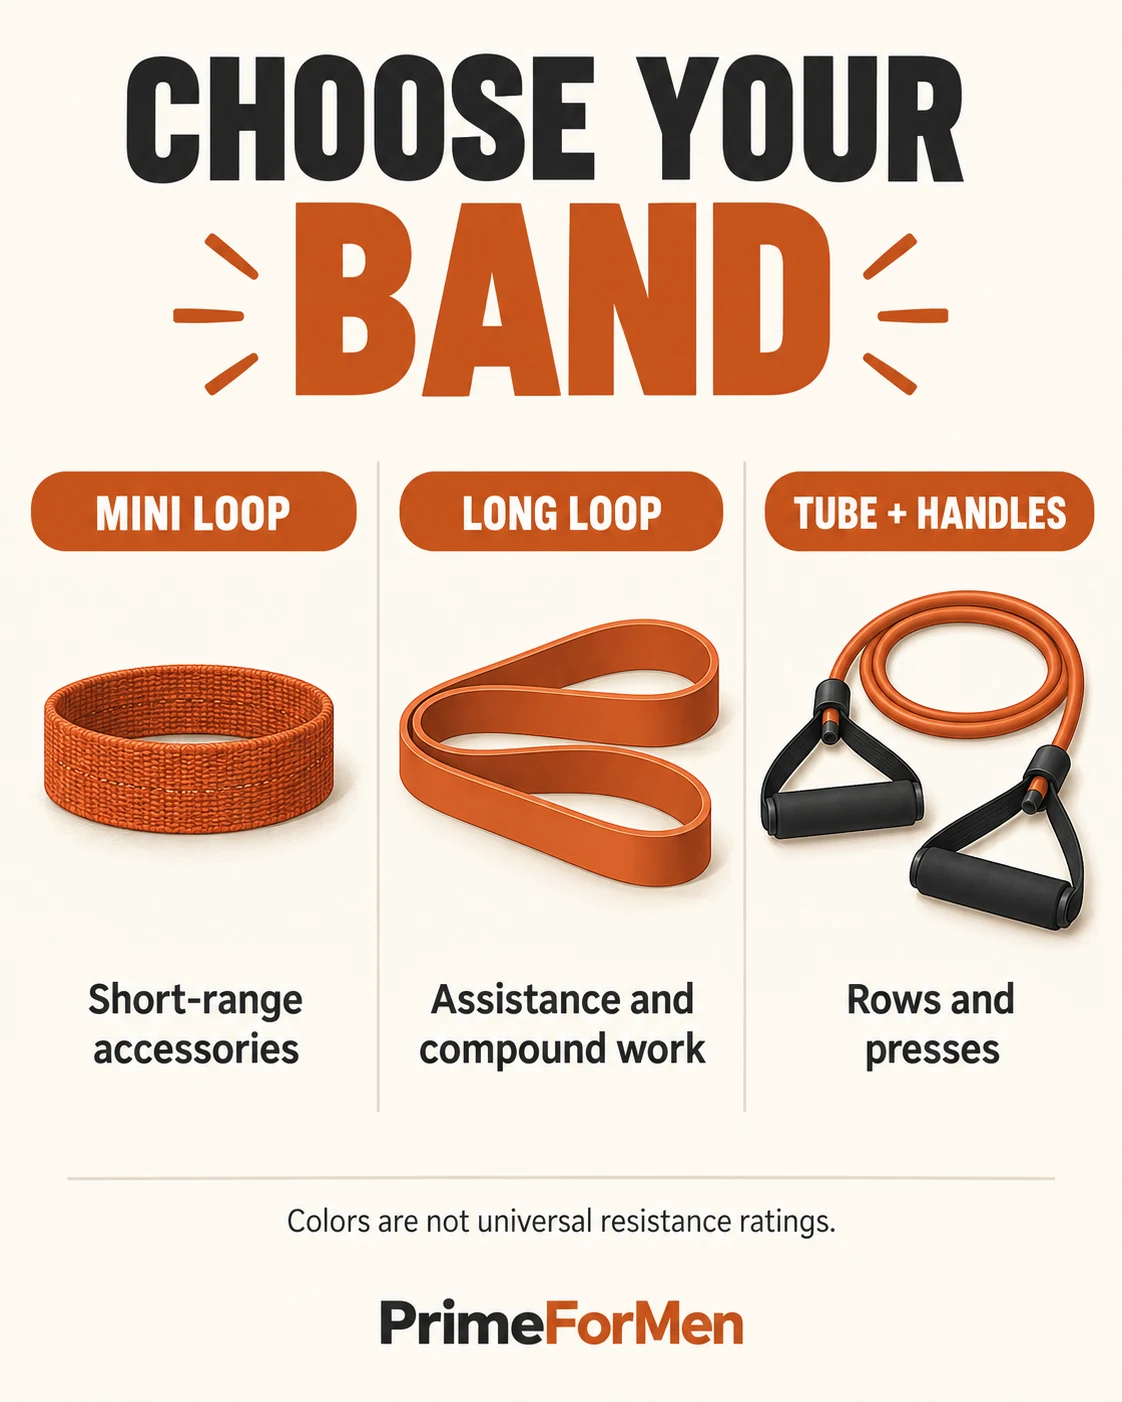
Choose One Band Type for Your First Three Exercises
Begin with the exercises you actually intend to repeat. A miniature loop for lateral steps is not a substitute for a long band used in a row. A pull-up assistance band is not automatically comfortable for curls. You may eventually use multiple types, but buying every category at once makes it harder to learn which setup you need.
On small screens, swipe the table sideways to see every column.
| Your first task | Type to investigate | Check before purchase |
|---|---|---|
| Rows and presses while traveling | Handled tube set or suitable long band | Safe available anchor, working length, handle attachment and a genuinely light starting option. |
| Short-range lower-body accessories | Mini loop | Circumference, material, comfort and whether it rolls in the intended position. |
| Assisted pull-ups | Long closed loop | Compatibility with a secure bar and safe mounting method; assistance changes throughout the movement. |
| Gentle movement prescribed by a clinician | The type specified in the plan | Follow the prescription rather than substituting a heavier fitness bundle. |
Choose material around your needs, including latex sensitivity. “Heavy” and band colors are manufacturer-specific labels. A printed resistance range is not a fixed dumbbell equivalent: tension changes with stretch, and brands may use different measurement conditions. Do not add the advertised ratings of several bands and assume the result equals a barbell weight.
Read the Product Instructions Before Using an Anchor
The TheraBand resistance-product instructions emphasize secure attachment and product care. Use the instructions for your actual model, including its stretch limit; a limit for one brand or band construction should not be copied onto another.
- Inspect before each session. Look for cuts, cracks, damage at seams or attachment points, and faulty clips or handles. Remove damaged equipment from use rather than repairing it with tape or knots.
- Verify the entire anchor system. A strong band attached to a weak handle, door or mounting point is still an unsafe setup. Follow the supplied installation requirements and prevent someone from opening a door during use.
- Check the line of recoil. Keep the face away from a potential release path. Do not improvise high-tension exercises toward the eyes.
- Test gently first. Take up slack and apply light tension before a working set. A brief check does not certify an unsuitable anchor.
- Release under control. Return slowly to the starting position. Do not let a stretched band snap back or leave it tensioned where children can reach it.
Make Your Setup Repeatable
Write down the band identifier, anchor height, hand position and where you stand. A removable floor marker can help reproduce your stance when suitable for the surface. Record the initial slack or tension and the point where the repetition ends. Take a private reference photo if it helps, without treating the photo as evidence of safe installation.
For example, log “blue tube from this set, chest-height approved anchor, same floor marker, 2 × 10 rows.” If you step farther away next session, you have changed the resistance as well as the position. Do not call that a pure repetition improvement. Never step farther solely to exceed the manufacturer’s stretch limit.
A Small Two-Day Application
This is an editorial example for generally healthy adults familiar with the movements, not a rehabilitation prescription. Use two nonconsecutive days. Warm up with easy movement and very light rehearsal sets. Begin with one or two work sets, resting about 60–90 seconds or longer as needed and leaving two or three controlled repetitions available.
On small screens, swipe the table sideways to see every column.
| Movement | Starting work | Key cue |
|---|---|---|
| Standing anchored row | 1–2 × 8–12 | Use a secure appropriate anchor; draw elbows back without leaning farther away every rep. |
| Standing curl with suitable band under both feet | 1–2 × 8–12 | Follow the product’s underfoot instructions; keep feet planted and elbows controlled. |
| Sit-to-stand | 1–2 × 6–10, initially without a band | Use a stable nonrolling chair. A band is not necessary for every exercise. |
| Wall push-up | 1–2 × 6–12 | Use a solid wall and comfortable distance; do not add a band just to match the theme. |
When the upper repetition target is repeatable with the same setup, consider a modest resistance change and return toward the lower target. If there is no manageable next level, repeat rather than forcing it. For a fuller routine, use the apartment training plan. This buyer guide helps select and standardize the tool; it does not need to duplicate every possible band exercise.
At purchase, compare the lowest usable resistance, maximum safe stretch, replacement availability, warranty and anchor instructions. A larger bundle is not automatically a better value if most pieces cannot be used safely in your room. The worksheet below gives space to compare two options using those same criteria.
A Buyer Checklist That Goes Beyond Bundle Size
Start with the exercise you want to perform, then check the product documentation. A bundle with many handles and attachments may still lack a light enough band, a suitable anchor or a clear instruction sheet. Photographs and advertised resistance totals cannot establish durability.
On small screens, swipe the table sideways to see every column.
| Check | Useful evidence before purchase | Reason to pause |
|---|---|---|
| Exercise fit | Instructions showing the intended movement and attachment. | You would have to improvise an anchor or connect incompatible parts. |
| Starting resistance | A genuinely manageable light option and sensible steps. | The lightest band is already too difficult through the required range. |
| Construction | Clear material, connector and care information. | Vague material claims or no replacement guidance for wear. |
| Attachment compatibility | Specified anchor and structure requirements. | A door or fixture you cannot secure as instructed. |
| Replacement and storage | Available replacements and explicit storage instructions. | A damaged component would require improvising a repair. |
If you are sensitive to latex, verify the stated material rather than assuming fabric-covered bands are latex-free. Fabric can cover elastic components. Do not rely on a product photograph to establish suitability. For care, follow the manufacturer’s cleaning and storage directions and keep bands away from sharp edges and damaging exposure.
Where Bands Fit in a Small Home Gym
Bands can add portable resistance without the footprint of a machine, but the space around the stretched band still matters. In an apartment workout, keep the recoil path clear of other people and avoid attachment points near shared walkways. Quiet equipment is not automatically a safe setup.
Compare bands with other home gym equipment according to the exercise you need. Dumbbells make an external load easier to identify; bands change tension as they stretch. Both can be useful, and neither makes the other unnecessary for every goal. The dumbbell plan is an alternative when you have suitable weights but no trustworthy band attachment.
Do not let the band choose your technique
If a movement becomes manageable only by shortening the intended range, leaning back or jerking the start, reduce resistance or choose another setup. Avoid stepping farther from an anchor simply because you want the set to feel harder. That changes both starting tension and maximum stretch, which must remain within the product’s limits.
Use the progression framework to keep changes deliberate. First repeat the same exercise and setup, then consider a small change. For a first return to exercise, the beginner guide supplies unbanded alternatives while you learn basic movements.
Retire damaged bands or hardware according to the instructions. Do not tie a cracked band together, tape over a tear or assume an improvised knot restores its original rating. The cost of replacing one component is a better comparison than the number of pieces in a new bundle.
Download the Practical Worksheet
Use the one-page reference and three fillable fields to record your setup, what you completed and the next decision. Print it or save a filled copy using a PDF reader that supports forms. Read the full instructions and adaptations above before using the summary.
Optional Equipment: Buy for a Specific Job
The links below open Amazon category searches, not tested product recommendations. Compare the actual product instructions, dimensions and compatibility. Use equipment you already own when it fits the task.
As an Amazon Associate, PrimeForMen earns from qualifying purchases.
Conclusion: Make the Next Session Clear
Choose your first exercise, verify its attachment and record the starting position before shopping for more bands. Use the worksheet to make that decision visible. Repeating a manageable session is a valid choice; the calendar alone does not require a harder workout.
Frequently Asked Questions
Are band colors the same across brands?
No. Color is a product-specific label, not a universal load rating. Check the manufacturer’s resistance information and the conditions used to measure it. Record the model and setup in your log.
Can a band replace every dumbbell exercise?
Not directly. Resistance changes with stretch, and some exercises require a trustworthy attachment. Choose a movement that fits the band rather than recreating every free-weight exercise with an improvised anchor.
Is a door anchor always suitable?
No. Suitability depends on the anchor, door, frame and the manufacturer’s setup requirements. Do not use a structure you cannot secure or verify. A supplied anchor is not proof that every door is appropriate.
When should I replace a band?
Follow the manufacturer’s instructions and stop using damaged equipment. Cracks, tears, worn seams or compromised connectors call for replacement or the specified service process. Taping a tear or tying a knot does not restore a verified rating.
Do beginners need a large set?
Usually the first decision is whether one suitable band supports the intended exercise. A light enough starting option and a reliable setup matter more than bundle size. Unbanded movements and existing weights remain valid alternatives.
Medical Disclaimer
This is general fitness education, not diagnosis, rehabilitation or an individualized exercise prescription. Choose movements appropriate to your situation. Stop for pain, dizziness or unusual symptoms and seek appropriate guidance. New or severe concerning symptoms warrant prompt medical assessment.
Our editorial policy explains our approach to sources and commercial independence. Exercise examples and illustrations do not represent individual coaching or product testing.
Affiliate Disclosure
Some links are affiliate links. We may receive a commission from qualifying purchases at no additional cost to you. Optional equipment is not a condition of benefiting from the guidance above.