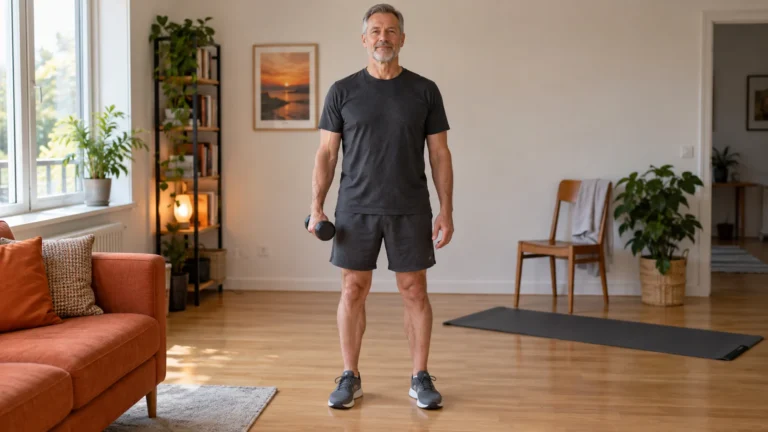
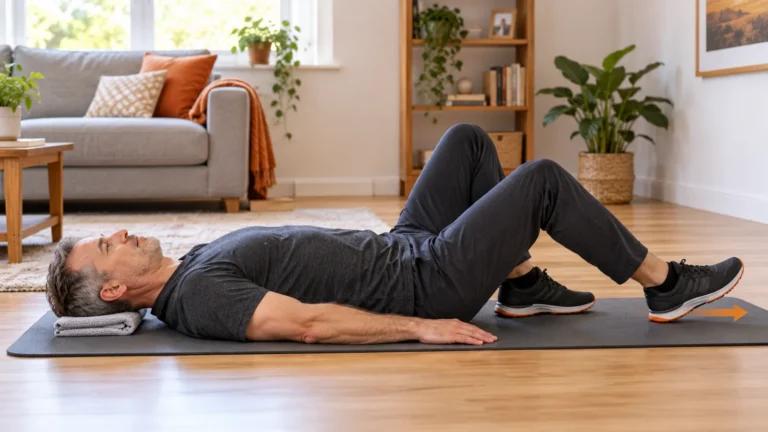
Try a beginner core session with breathing, heel slides and a wall plank. Choose floor or standing, track control and use the printable log.
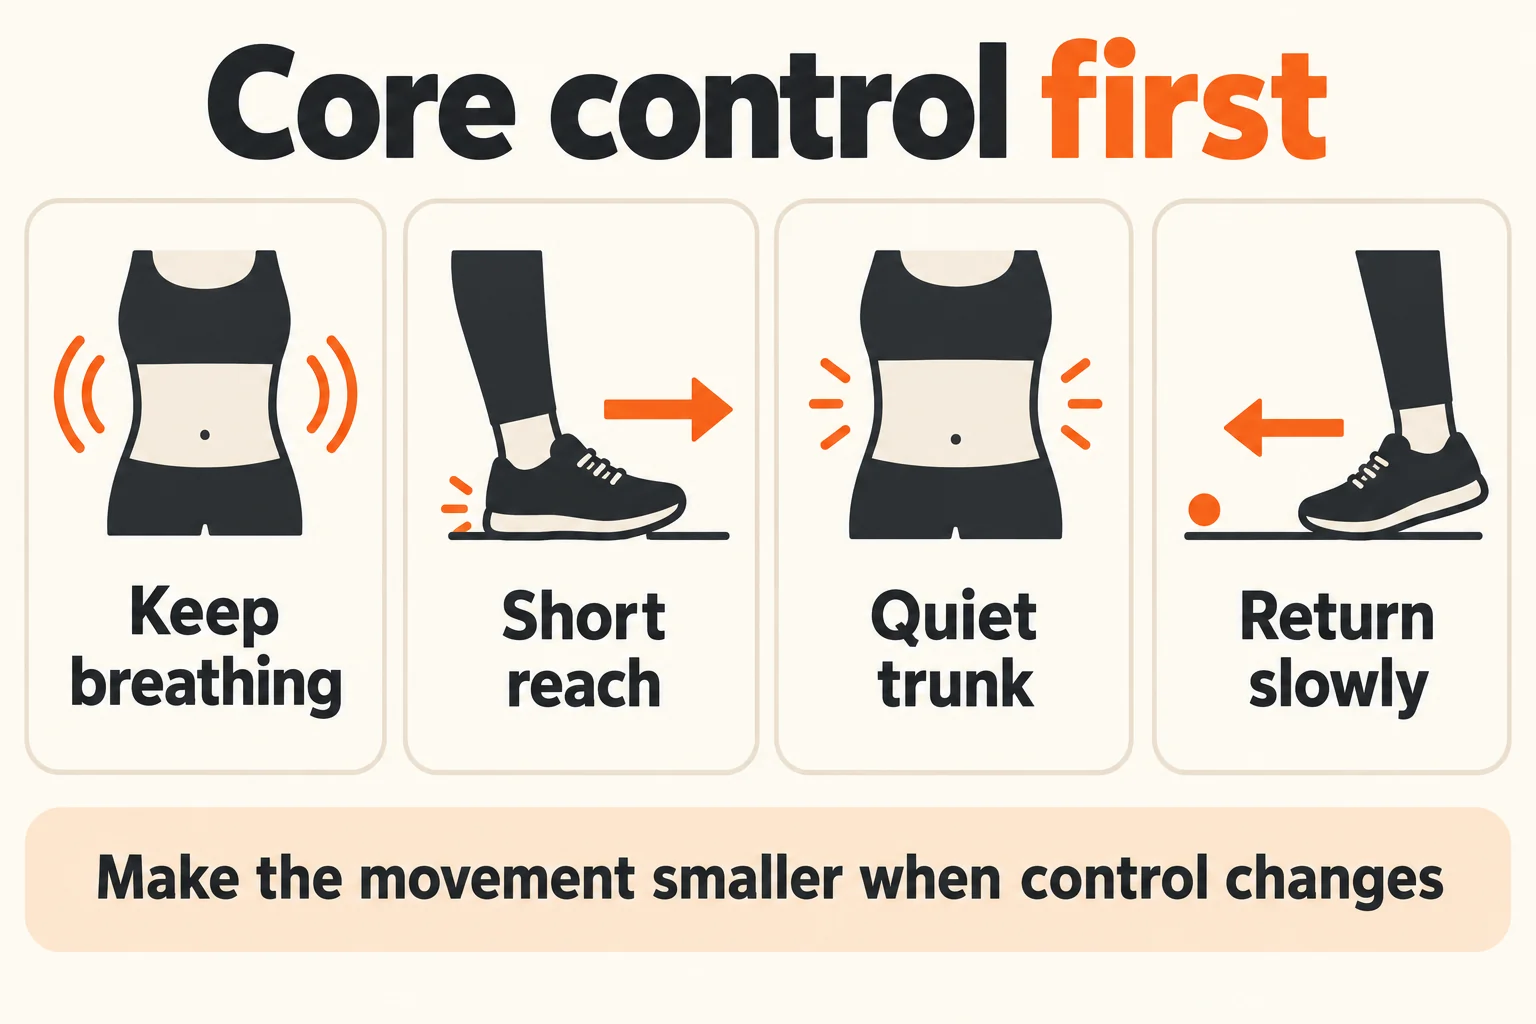
- Keep breathing through short reaches.
- Use one comfortable round first.
- Choose standing when floor access is difficult.
Bottom line Pick the floor or standing route and finish one comfortable round before changing its reach, time or volume.
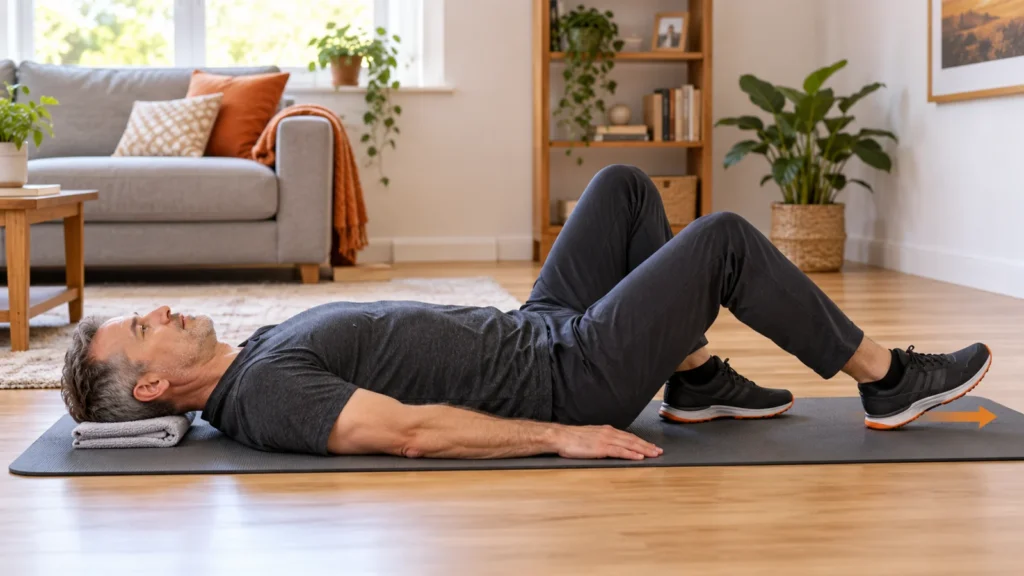
A core workout for beginners should teach you to breathe and move your limbs while keeping a comfortable, controlled trunk position. Start with short reaches and brief holds. A long plank is not required, and burning abdominal muscles do not tell you whether the movement is well controlled.
Use the first-session routine below, or take the standing route if getting down to and up from the floor is difficult. These are general exercise examples, not a treatment program for back pain, surgery recovery or a diagnosed condition.
Quick Summary: Core Workout for Beginners
- Begin with 3-5 quiet breaths, then small heel slides, short bridges and a wall plank.
- Use one round at first. A second round gives a roughly 12-15-minute session with preparation and rest.
- Rest 30-60 seconds between exercises. Keep breathing instead of holding a maximal brace.
- Shorten the reach or hold when the trunk shifts. Choose the standing route when floor access is the problem.
Prime Perspective
Begin with an exercise you can repeat while breathing comfortably and returning slowly. If a smaller heel slide is controlled and a longer one makes the pelvis move, keep the smaller version. You have a clear baseline to build on.
What “core” means in this workout
The core includes muscles around the abdomen, back and pelvis that help control your trunk. Mayo Clinic’s overview of core exercises describes coordinated work across these areas. This routine practices that control; it does not promise visible abs, spot fat loss or a cure for back pain.
NASM’s dead-bug instructions illustrate moving the limbs while controlling the trunk. Our heel slide is an easier starting trial with the feet beginning on the floor. You do not need to start with both legs raised.
Core work belongs within a broader week that also trains the legs and upper body. Pair this short practice with the home strength starting plan rather than treating it as your whole exercise program.
Bracing should still let you breathe
Think of gently firming the trunk for the next movement. Do not pull the belly in as hard as possible or force the lower back flat against the floor. Keep a comfortable position and a breathing rhythm you can sustain. If every rep requires breath-holding, reduce the reach or effort.
Your first core session, step by step
Use a firm mat or comfortable floor surface. Getting down and standing up are part of the task: use stable assistance if needed. Walk or march gently for two minutes, then rehearse each position. Allow about 8 minutes for one round or 12-15 for two; rest and transitions change the actual time.
| Exercise | Starting work | Rest | Make it easier |
|---|---|---|---|
| Breathing and light brace | 3-5 unhurried breaths | 30 sec as needed | Relax the effort; keep head and feet supported. |
| Heel slide | 5 per side | 30-60 sec | Slide the heel a shorter distance. |
| Short bridge | 6-8 reps | 30-60 sec | Lift the hips less, or skip if it causes symptoms. |
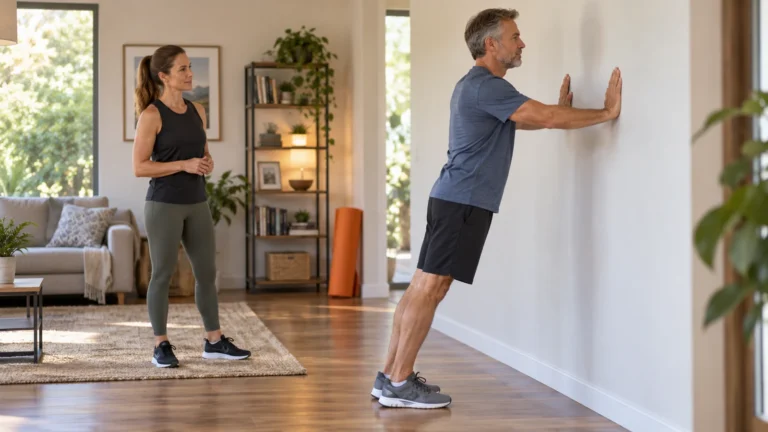
| Wall plank | 10-20 sec | 30-60 sec | Stand closer to the wall. |
1. Breathing and a light brace
Lie on your back with knees bent and feet down. Rest the head comfortably; use a small head support if needed. Inhale without forcing a large breath. As you exhale, gently firm the trunk and notice whether you can keep breathing. Take 3-5 quiet breaths, then relax. This is preparation, not a breath-hold test.
2. Heel slide
Keep both feet down at the start. Gently firm the trunk, then slide one heel a short distance away as you breathe out. Return slowly and alternate sides. Use a reach that does not cause the back to arch markedly, the pelvis to roll or the head to lift. If you cannot keep that position, shorten the slide; if symptoms persist, stop.
3. Short bridge
With knees bent and feet planted, gently press through the feet and raise the hips a comfortable amount. Keep the ribs from flaring and lower under control. You do not need a high arch or a hard squeeze at the top. Start with a small lift. Cramping, sharp pain or a movement you cannot control is a reason to stop and choose another exercise.
4. Wall plank
Place forearms on a stable wall around shoulder height. Step back a short distance and maintain a comfortable line through the trunk while breathing. Stay for 10-20 seconds, then step in. Move closer to make it easier; do not push the head forward or force the shoulders into a painful position.
Stop an exercise for pain, dizziness, unusual breathlessness, numbness or symptoms that spread. A new or persistent problem needs appropriate assessment; a different ab exercise is not a diagnosis.
A standing route when the floor is the obstacle
Use this route if floor access is difficult, not to work around unexplained symptoms. Stand beside a fixed support with feet in a comfortable position. Take 3-5 relaxed breaths with a gentle brace, then do 5 small supported marches per side, followed by a 10-20-second wall plank. Rest 30-60 seconds between exercises. One or two rounds are enough for the first trial.
For the supported march, lift one foot a little while keeping the trunk quiet, then place it down before lifting the other. Keep a hand on the support. Do not chase high knees. This practices control and balance in standing; it does not reproduce the loading of a floor dead bug or bridge.
If age-related balance, mobility or medical concerns shape your exercise choices, use the dedicated fitness guidance for men over 50 alongside professional advice. The selection helper below chooses a starting route, not a suitability clearance.
When to try a dead bug, bird dog or longer plank
| Current exercise | Next trial | Keep the earlier version when |
|---|---|---|
| Controlled heel slides | Try one leg lifted with the other foot down; later try a short dead-bug heel tap. | The trunk shifts, breathing becomes strained or symptoms appear. |
| Wall plank | Add a few seconds up to 20, then take a slightly longer stance. | You need to shrug, arch or hold your breath to finish. |
| Comfortable floor positions | Try a bird dog with only one hand or one leg reaching first. | Wrists, knees or balance make the position uncomfortable. |
For a bird-dog trial, begin on hands and knees on a comfortable surface. Move one limb a short distance while keeping the trunk steady, return, then change sides. Reaching opposite arm and leg together is a later option. For a dead-bug trial, begin with a short movement and use the demonstration below to understand the full version. A longer limb lever usually asks more of trunk control; it is not automatically better for you.
See a short reach with a quiet trunk
The central shape stays still while one limb marker reaches and returns. This is a control metaphor, not an anatomy model; keep your own reach comfortable and breathe throughout.
Silent, 8.5 seconds. Open the animation directly. Playback pauses offscreen; reduced-motion preferences keep playback manual. Essential instructions are in the article text.
How often, and how to track progress
Start with two or three short practices across the week if comfortable. Leave recovery time when the work produces soreness that affects movement. Log the variation, repetitions or hold time, and whether you could breathe comfortably. Keep the same version for several practices before increasing reach or time.
For example, five heel slides per side become six with the same reach. Only later try a slightly longer slide. Avoid adding a second round, longer holds and harder variations together. Our full-body home workout shows where a short core slot can fit, and lower-body home workouts cover leg training beyond this routine.
Choose your starting session and keep a log
This helper adapts the article’s starting template to your choices. It does not assess health, prescribe a training load or guarantee that an exercise is suitable.
Start with one round of the floor table if floor access is comfortable. Otherwise use light standing breathing, 5 supported marches per side and a 10-20-second wall plank, with 30-60 seconds rest.
The tables and downloadable log work without JavaScript.
Watch NASM demonstrate the dead bug
This demonstration shows the full dead bug, a later option. Begin with the heel slide described above; raised legs and long opposite-limb reaches are not required for your first session.
Watch this demonstration on YouTube if the embed does not play.
Keep a session log away from the screen
Download the one-page beginner core practice log (fillable PDF). Its eight editable fields record setup, actual work, rest or effort, and the next decision. It also works for handwritten notes. The helper’s print button creates a separate record with your current selections, notes and checkmarks.
Equipment options for the exercises you use
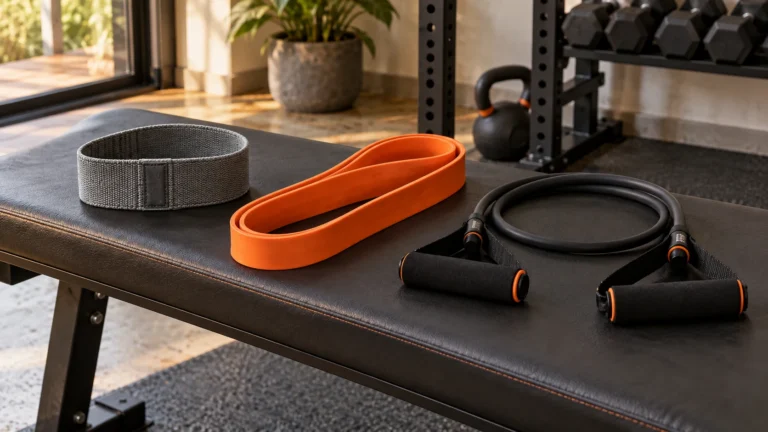
Keep suitable equipment you already own. These options serve different needs; you do not need the whole list to follow the starting plan. Check the exact model, selected size, package, seller and current manual before ordering.
As an Amazon Associate, PrimeForMen earns from qualifying purchases. Prices and offers can change.
Best for: For comfortable floor practice with enough room for your reach. Skip it if you already have a suitable nonslip surface. Current Amazon listing: Gorilla Mats Large Exercise Mat - 6x4/7x4/7x5/8x4/10x4 ft - Home Gym Mat Best for: An optional aid for a small controlled heel slide while lying down. Skip it if your current floor setup already allows that movement comfortably. Current Amazon listing: Gaiam Core Sliding Discs, Dual-Sided Ab Sliders, Set of 2 * As an Amazon Associate, PrimeForMen earns from qualifying purchases.Recommended Products

Gorilla Mats exercise mat
View on Amazon

Gaiam dual-sided sliding discs
View on Amazon
Frequently asked questions
How long should a beginner hold a plank?
Start with a wall plank for 10-20 seconds while breathing comfortably. Shorten it if position changes. A floor plank or a one-minute target is not required.
Should my lower back be completely flat?
Use a comfortable controlled position. Avoid a large changing arch during limb movement, but do not force your back flat. Shorten the movement when you cannot control it.
Can this routine treat back pain?
It is not a treatment plan. New, persistent or worsening pain needs assessment. Follow an individually advised program if you are recovering from injury, surgery or a diagnosed condition.
Do I need an ab wheel or weighted vest?
No. The first session uses your body and a wall. A comfortable mat can help; sliders are an optional later convenience for a controlled heel slide.
Can I train my core every day?
Daily hard work is unnecessary for this starting plan. Two or three brief comfortable practices can establish a baseline. Rest when soreness or fatigue changes your movement.
Start with the route you can repeat
Choose floor or standing, complete one comfortable round, and record what you did. More advanced core stability exercises are a later option, not an entry requirement. Our editorial policy explains the evidence behind our guides.
Exercise and affiliate notes
This is general education for adults, not diagnosis, rehabilitation or an individually assessed program. Stop for pain, dizziness, faintness or unusual breathlessness. Seek urgent help for severe symptoms, including chest pain. If you have a medical condition, recent surgery or an exercise restriction, get appropriate guidance before changing your routine.
Equipment recommendations are based on documented listings and fit, not hands-on testing. Generated editorial imagery and diagrams are illustrative and do not establish technique, product performance or results.
As an Amazon Associate, PrimeForMen earns from qualifying purchases.