Plan two complete home gym setups. Check daily parking changeovers, usable height and storage with the layout helper and fillable worksheet.
- Choose equipment around training and storage.
- Draw parking and training as separate room states.
- Measure the lowest obstruction and full movement.
Bottom line Rehearse the complete setup and return to storage before ordering. If the vehicle route, movement height or required mount is unresolved, revise the equipment list.
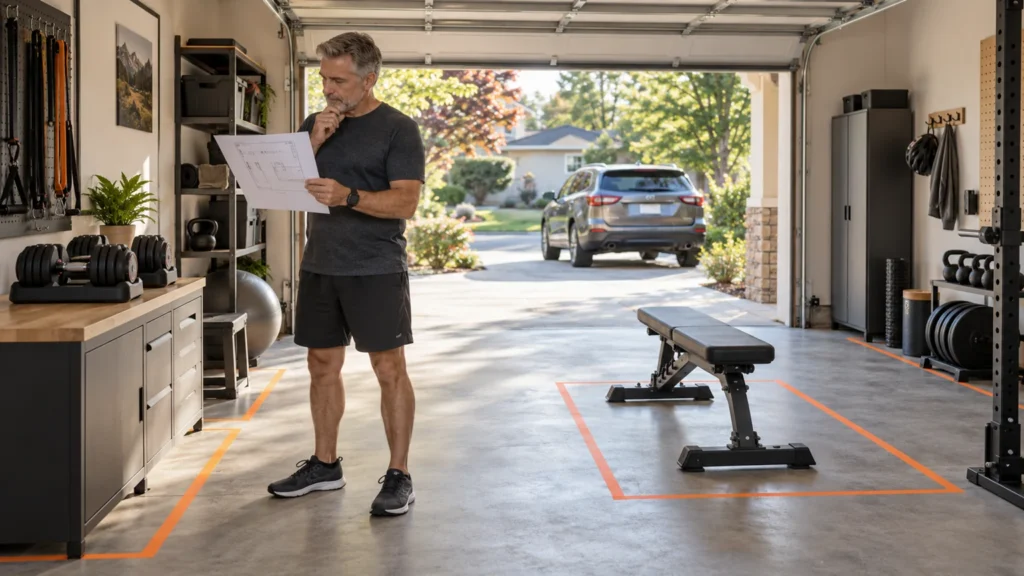
Home gym layout starts with the space you need to use equipment. For a garage that returns to parking, plan training and stored states separately. For a compact barbell room, include loading access, full movement height and storage before choosing a shorter bar.
Quick Summary: Home Gym Layout
- Draw three things separately: the frame, the working area and the storage position.
- Measure the lowest overhead obstruction and the delivery route, not just floor area.
- Choose a complete shared-garage or compact rack setup; illustrative room plans are not minimum room sizes.
- Test your layout with tape before buying; exact manufacturer instructions take priority.
The Prime Perspective
A room can hold all your equipment and still be awkward to use. Check where you set down dumbbells, whether the bench blocks the door, and whether you can load plates beside the wall. Rehearse these transitions before comparing more products.
This guide helps you arrange a room. For the buying order, use our small-space home gym equipment guide. If you have not chosen a setup, start with the Home Gym Equipment Finder and return with a short equipment list.
Make a Measured Room Record
You need a tape measure, paper and a pencil. Removable tape is useful for a floor rehearsal if it is suitable for the surface; test an inconspicuous patch first. You do not need to buy gym-planning equipment before taking these measurements.
- Width and depth: measure the usable interior, excluding fixed furniture and inaccessible corners. Sketch an irregular room as separate rectangles.
- Height: record the lowest beam, light, pipe or garage track over each proposed station. Include the thickness of flooring you intend to add.
- Openings: draw door swings, windows you need to reach and any garage-door movement. Keep access and exits usable.
- Delivery: check the narrowest doorway, stair turn and landing. A machine fitting in the finished room does not establish that its largest package will reach it.
- Services and fixed items: mark outlets, heating equipment, furniture and storage that will remain. Keep required manufacturer access areas clear.
Write one unit beside your sketch and use it consistently. For conversion, 1 foot equals 12 inches and 1 inch equals 2.54 centimeters. Do not mix rounded metric and inch dimensions in a tight fit.
Separate Frame, Working Space and Storage
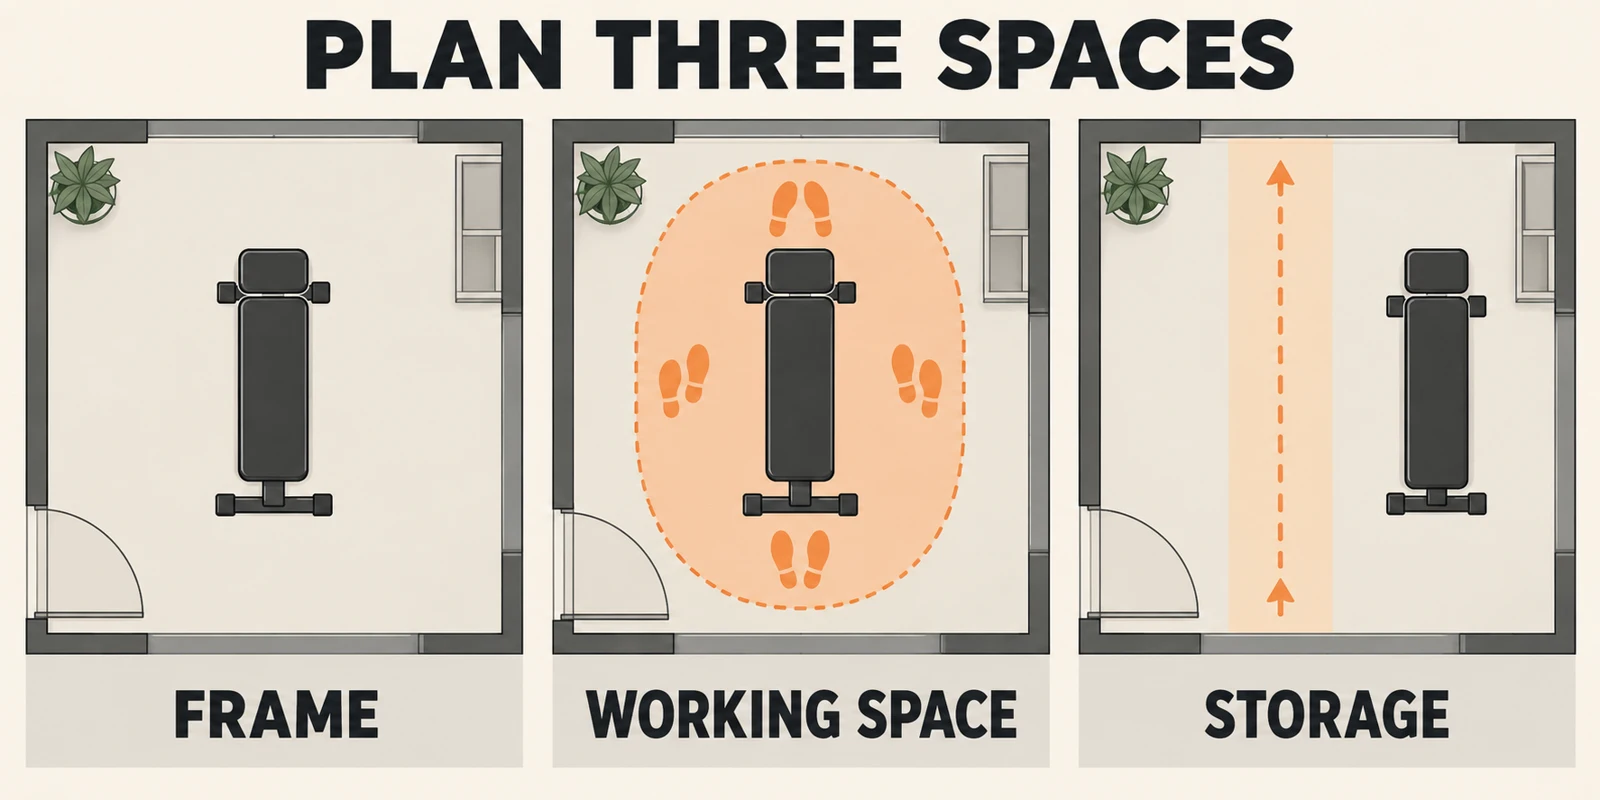
A useful example is the Concept2 RowErg: the manufacturer lists an assembled size of 96 × 24 inches, but recommends 108 × 48 inches with clearance for use. The latter is 36 square feet, compared with 16 square feet for the frame. Storage is a third configuration. Those figures apply to this model, not every rowing machine.
Reserve Loading and Access Space
Do not add up frame areas and subtract the total from your room. That calculation ignores shape and access. A long narrow gap may have enough square feet but still be useless for loading a bar. Draw rectangles in their intended positions, including the working areas.
Two Complete Setups: Choose What the Room Must Do
Each setup includes support, a training surface and storage for its intended strength work. Measure the exact models before buying. These component combinations have not been tested together; choose the products your setup actually needs.
Setup A: A Garage That Returns to Parking
Best for: one person doing dumbbell and bench work while the car is outside. Choose this when equipment must leave the parking lane after each session. It is a poor match if retrieving or storing the weights already requires moving the car, a heavy cabinet or loose equipment.
| Component | Job during training | Where it goes afterward | Check before buying |
|---|---|---|---|
| Adjustable dumbbell pair and its original bases | Controlled squats, hinges, rows and presses within your demonstrated working area | Matching bases on a stable support approved for the equipment and load | Selected pair, adjustment access, starting weight and permitted handling; ordinary shelving is not a weight stand |
| Stable bench with a permitted storage configuration | Supported rows and the press positions you intend to use | Its measured flat, folded or upright position outside the car and access routes | Exact model instructions; a folding back pad does not establish that the whole bench folds or stores upright |
| Training surface suited to the planned movements | A clean, stable exercise zone on a suitable underlying floor | Clear of the vehicle route unless the maker explicitly approves vehicle use | Surface stability, moisture underneath, edge transitions and storage; gym mats are not automatically garage parking flooring |
| Dedicated storage and a clear retrieval route | A place to set equipment between exercises | Weights secured away from exits, car doors, garage-door travel and required service access | Measured stored dimensions, support rating and easy retrieval without climbing or moving heavy items first |
A resistance band set can add pulling variations if you have a suitable manufacturer-approved anchor and working area. It is an optional addition, not a reason to improvise an anchor on a moving garage door. A rack or cardio machine is also optional; add either only when its working and stored configurations have a place.
Try the sequence: retrieve the dumbbells, set the bench for a row, change to your press position, then move it out for a standing exercise. Record the widest reach and where each unused item rests. These are layout examples, not a training prescription. Keep loads controlled and follow the equipment instructions.
For model selection and buying order, use the small-space equipment guide. Compare the surface in the shared-garage flooring checks.
Setup B: A Dedicated Compact Barbell Corner
Best for: someone who wants rack-based lifting and can leave the rack installed in one measured position. Choose it for a dedicated room or a garage zone that stays separate from the actual vehicle and door movements. If the rack must be dragged out of the parking lane every day, reconsider the format.
| Component | Job during training | Space to reserve | Check before buying |
|---|---|---|---|
| Rack, matching J-cups and physical safeties | Support the bar and provide the intended stopping positions | Installed frame, approach, bench positions and full movement | Exact attachment compatibility, safety adjustment and required anchoring; a small footprint does not establish stability |
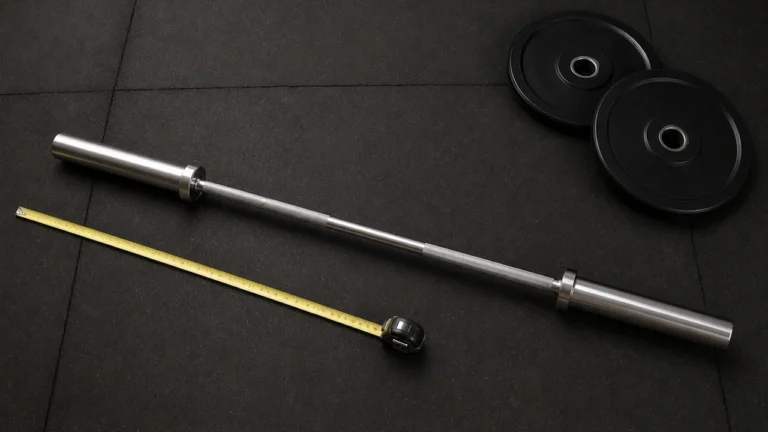
| Short rackable barbell | Reduce total bar length while retaining a compatible support span | Both bar ends, hands and the path used to add or remove plates | Clear shaft span against the outside support width; total length alone cannot confirm rack fit |
| Compatible plates and retaining collars | Load the bar within documented limits | Actual plate stack and room to operate each collar | Sleeve diameter, usable sleeve length, mixed plate thickness and full collar engagement |
| Bench that fits the intended lifts | Support the selected flat or inclined positions | Entry, adjustment and removal from the rack | Bench position relative to supports and safeties; frame compatibility is not proof of a usable press position |
| Appropriate floor and equipment storage | Stable equipment contact and access to plates | Stored plates and bar outside loading and exit routes | Underlying floor, required mount and rated storage; do not infer permission to drop weights from mat thickness |
For a concrete short-bar example, Bells of Steel lists its Short Rackable Barbell at 69 inches overall with 7⅞ inches of loadable sleeve per side. Those sleeves limit the physical plate stack before you even consider permitted loads. Use the short-bar measuring guide for shaft span, support geometry and collar space; compare the rack separately in our power rack guide.
Rehearse loading one side, loading the other, entering the rack, placing the bench and removing it. Do not treat a shorter bar as a solution to low ceilings. If you mainly want cable exercises, compare a cable trainer’s full working area before adding a rack and bar you will rarely use.
Compare Equipment for the Setup You Chose
These five products cover different jobs in the two setups. They are not a matched package: rack, plates, floor and storage still need separate selection. Keep suitable equipment you already own. Check the exact variant, seller, current instructions and included components before ordering.
Recommended Products

REP QuickDraw Adjustable Dumbbell Pair
Best for: A pair for the shared-garage dumbbell setup. Skip it if the selected range, adjustment access or supported storage does not suit you.
Current Amazon listing: REP Fitness QuickDraw Adjustable Dumbbell Set, Pair, 30/40/50/60 lb Each, Steel Plates, Knurled Handle, Lock-N-Load Switch, Space-Saving Compact Free Weights, Strength Training, Home Gym, Men & Women
- The listing offers pair variants with different maximum weights; confirm the selected pair and starting resistance.
- Reserve space to adjust each dumbbell and return it to its matching base; the base footprint is not the exercise area.
- Use the maker's handling and storage instructions, with a suitable approved support rather than ordinary shelving.

FLYBIRD WB5 Foldable Adjustable Bench
Best for: A bench to compare when a permitted folded storage position matters. Skip it if the delivered revision, stability or working positions do not suit your setup.
Current Amazon listing: FLYBIRD WB5 Weight Bench, ASTM-Certified 800LBS Adjustable Weight Bench Workout Bench Foldable for Home Gym, 90° to -30° FID and 30in Extended Backrest for Bench Press Strength Training Exercise
- The verified listing identifies the WB5 foldable adjustable bench; confirm the actual revision and manual.
- Measure its deployed and permitted folded positions, including room to operate the adjustments and retrieve it.
- For a rack setup, check entry, bench placement and physical safety positions separately; a compact bench is not automatically compatible.
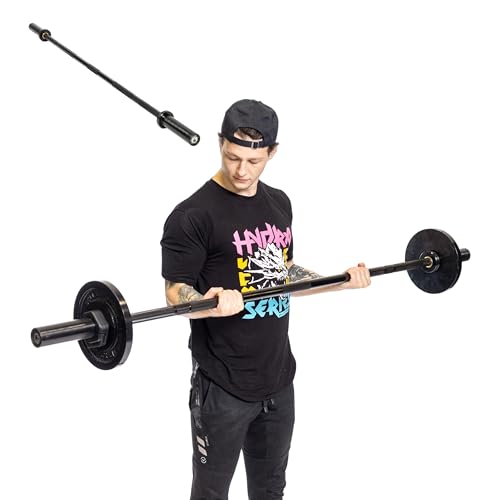
Bells of Steel Short Rackable Barbell
Best for: A dedicated rack corner where the bar's support span and shorter sleeves meet the measured plan. Skip it if rack fit or the plate stack remains unresolved.
Current Amazon listing: Short Olympic Barbell Bells of Steel - Rackable Compact 69 in, 900 lb
- The manufacturer lists 69 inches overall; compare the actual clear shaft span with the outside edges of your supports.
- Each sleeve has 7⅞ inches of loadable space; reserve the real plate stack and retaining collar space.
- Rehearse loading at both ends. A shorter bar does not solve low height, required anchoring or storage access.

Lock-Jaw Sport Olympic Barbell Collars
Best for: Retaining collars for a compatible Olympic sleeve. Skip them for an incompatible sleeve or when you already have suitable collars.
Current Amazon listing: Lock-Jaw Sport Barbell Collars/Clamps, 2"/50mm Olympic Bars, Blue
- The listing identifies the Olympic 2-inch/50 mm format; confirm the actual sleeve fit, not just the bar's name.
- Count collar space when measuring the usable sleeve and actual plate stack.
- Follow the collar instructions and check full engagement; collars do not replace rack safeties or create extra loading capacity.
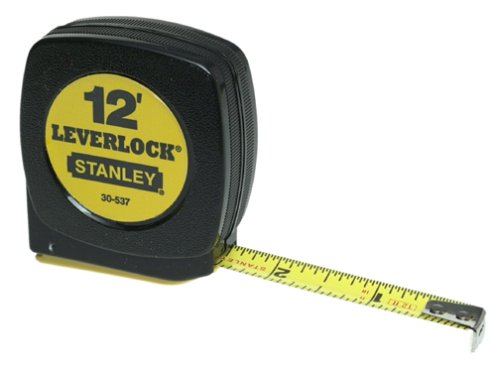
Stanley 30-537 Tape Rule
Best for: Taking a room record when you do not already own a suitable tape measure. Skip it if your existing measure handles the dimensions you need.
Current Amazon listing: Stanley 30-537 12 Tape Rule
- Confirm the listed model, tape reach and unit markings before choosing a measure for your room.
- Use one unit for usable width, working depth, lowest height and stored equipment dimensions.
- Record the source for equipment dimensions as well as your own measurements; a tape measure cannot approve floor capacity or installation.
* As an Amazon Associate, PrimeForMen earns from qualifying purchases.
Compare Three Home Gym Floor Plans
These are original schematic examples, not photographs of tested rooms or installation drawings. Room sizes, furniture and general working zones are planning assumptions. The bench, rack and rower outlines use the named manufacturer dimensions listed below. A grid square represents one foot. Green marks an assumed 36-inch door swing; orange marks a working zone. No diagram establishes building-code compliance, floor capacity or a safe distance for every exercise.
| Example | Room | Useful starting point | What still needs checking |
|---|---|---|---|
| Shared room | 10 × 12 ft; 120 sq ft | Bench and dumbbells beside a home office | Your reach, bench movement and storage |
| Dedicated rack room | 14 × 12 ft; 168 sq ft | Centered bar with access on both ends | Anchoring, bar length and overhead movement |
| Garage | 20 × 20 ft; 400 sq ft | Separate strength and rowing areas | Door tracks, vehicles, access and installation |
Plan A: A Shared Room with a Bench
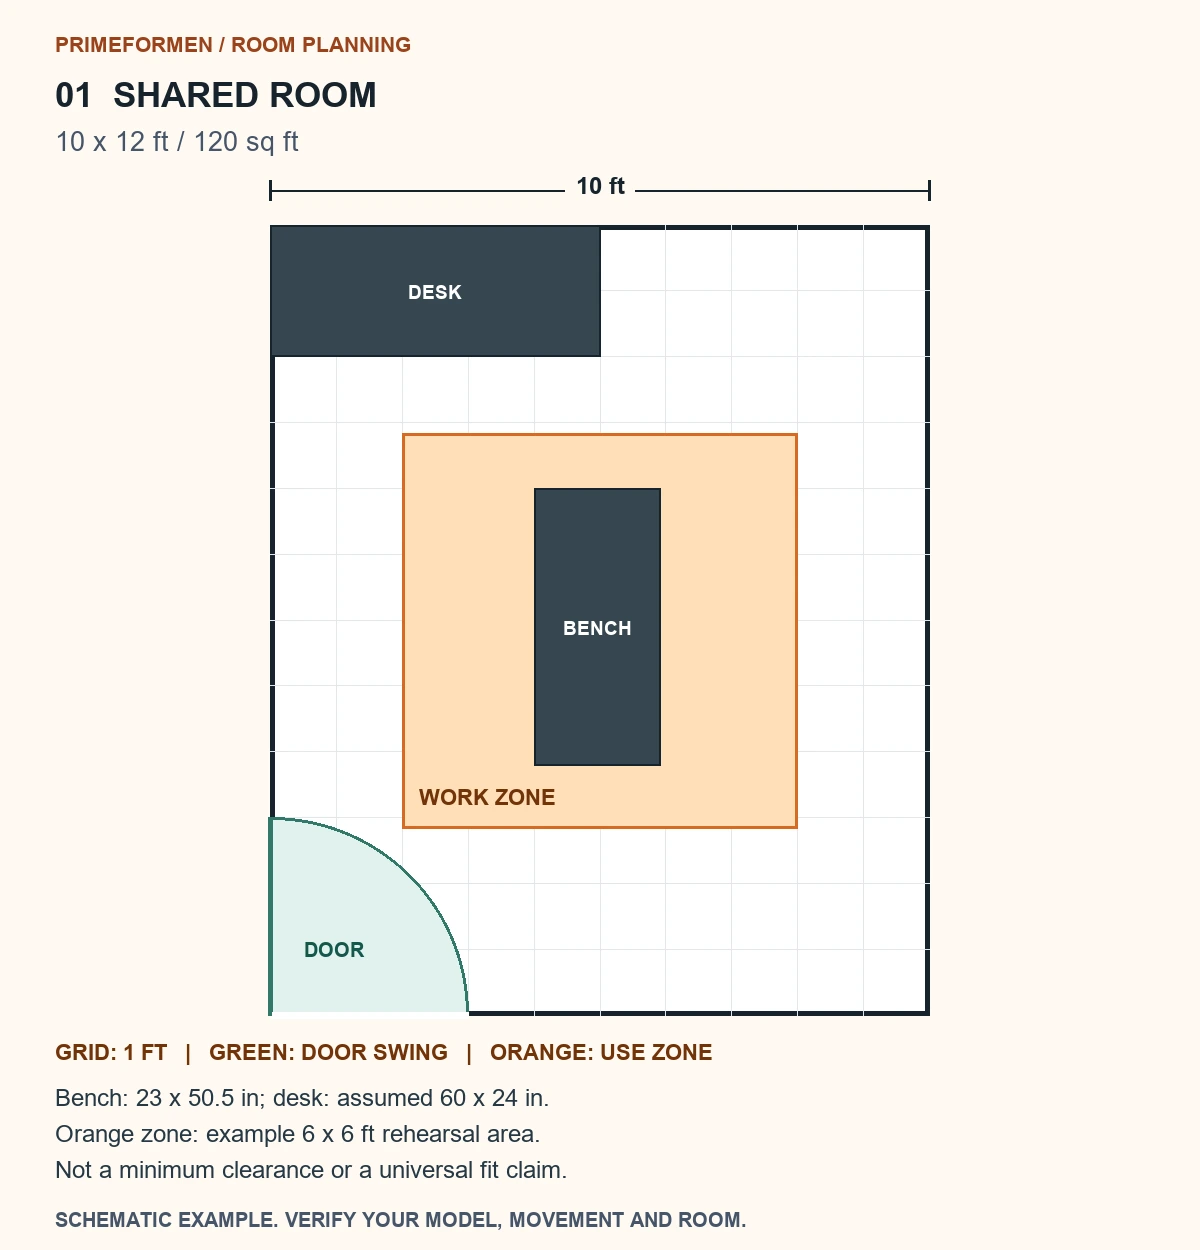
The office furniture stays along the top wall while the bench occupies an assumed 6 × 6 foot rehearsal area. That orange square is a starting shape to test, not a minimum exercise clearance. A tall user, wide-arm movement or different bench may need more. Keep dumbbells outside the doorway and reserve a reachable storage position for them after measuring the chosen pair or stand.
Rehearse moving the bench, sitting down, getting up and retrieving weights with unloaded equipment or a mock outline. If a movement reaches the desk, change the plan or remove the desk from the training configuration. The diagram does not show the bench stored vertically: only store a bench in a position its maker permits. Our weight bench buying guide explains how to compare the relevant designs.
Plan B: A Dedicated Room with a Rack
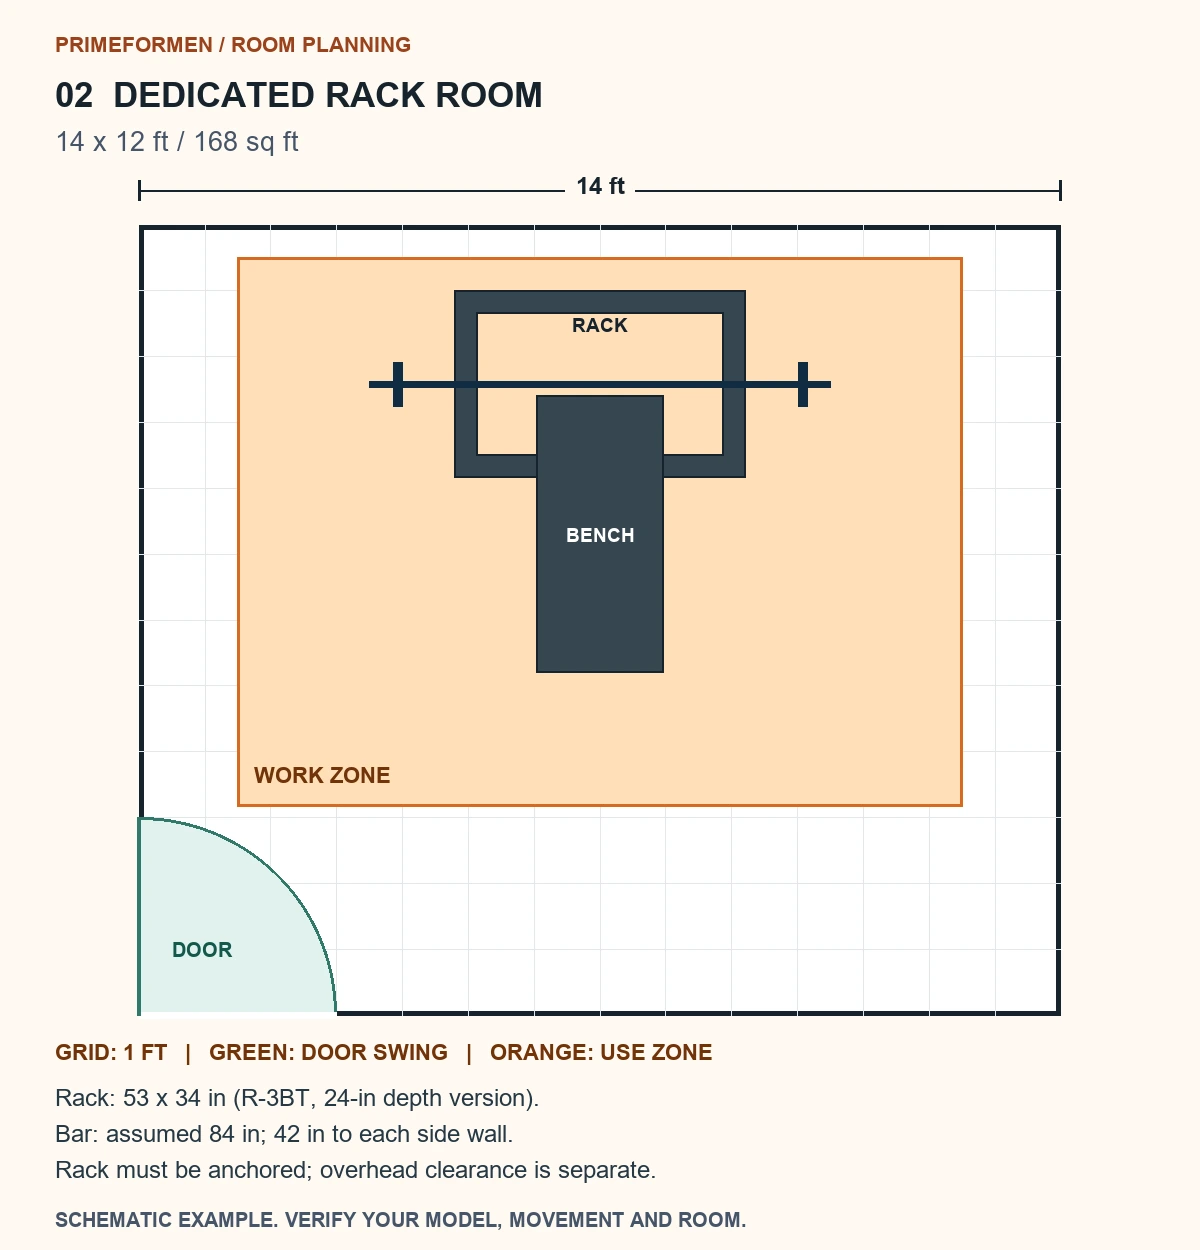
The bar is centered across a 14-foot room. Using the example 84-inch bar, (168 − 84) ÷ 2 leaves 42 inches between each bar end and its side wall. That is a geometric result, not a prescribed loading clearance. Measure your actual bar, plates and hand movements; storage or attachments can consume the apparent space.
The illustrated Rogue R-3BT frame uses the published 53 × 34 inch footprint. Rogue requires this rack to be bolted to the floor. The drawing does not specify anchors, confirm floor suitability or prove that the bench fits every lift. Check the exact rack version and bench position before installation. Start with our power rack guide and compatibility checklist.
A shorter bar can reduce side space but must still fit the rack supports. Our short rackable barbell guide separates total length, shaft span and sleeve capacity. Do not choose a bar from total length alone.
Plan C: A Garage with Strength and Rowing Areas
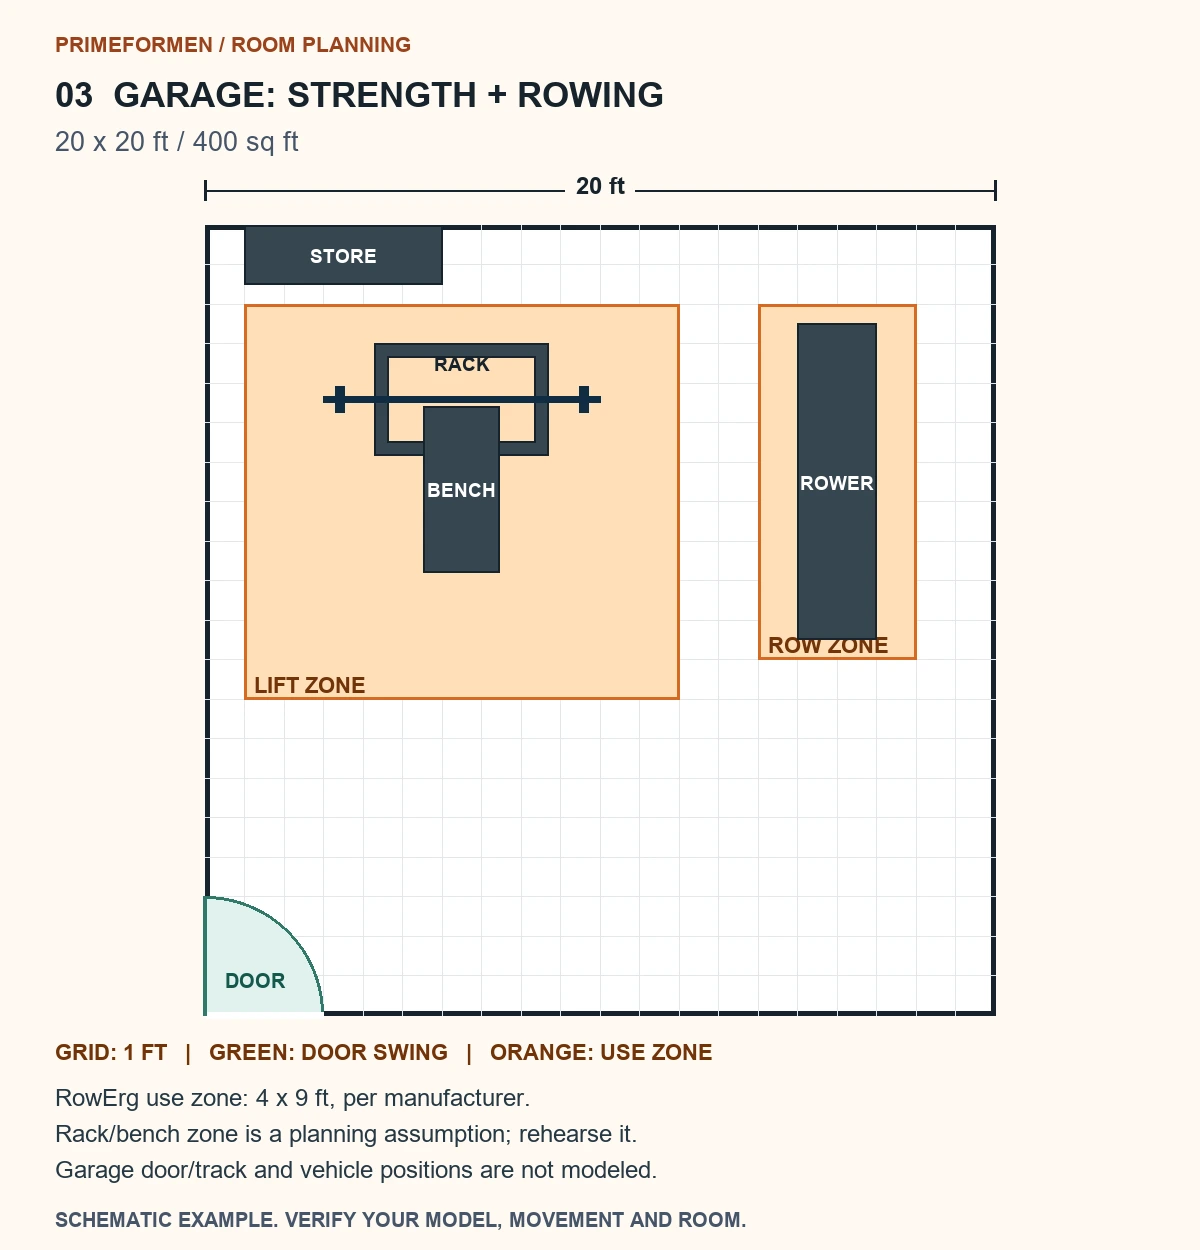
The rower sits lengthwise in its use zone, separate from the rack and bench area. The drawing deliberately leaves much of the lower room unassigned. That space may be needed for entry, equipment movement or activities you have not modeled. It is not an invitation to fill every remaining gap.
The garage plan omits a vehicle and the main garage door mechanism. Add both in their real positions before relying on it. Check the garage door fully open and closed, especially above a pull-up station. If a car must return each evening, draw the stored positions and the car’s route as a second plan. Compare rowing machine formats before assuming they all share the RowErg footprint or storage method.
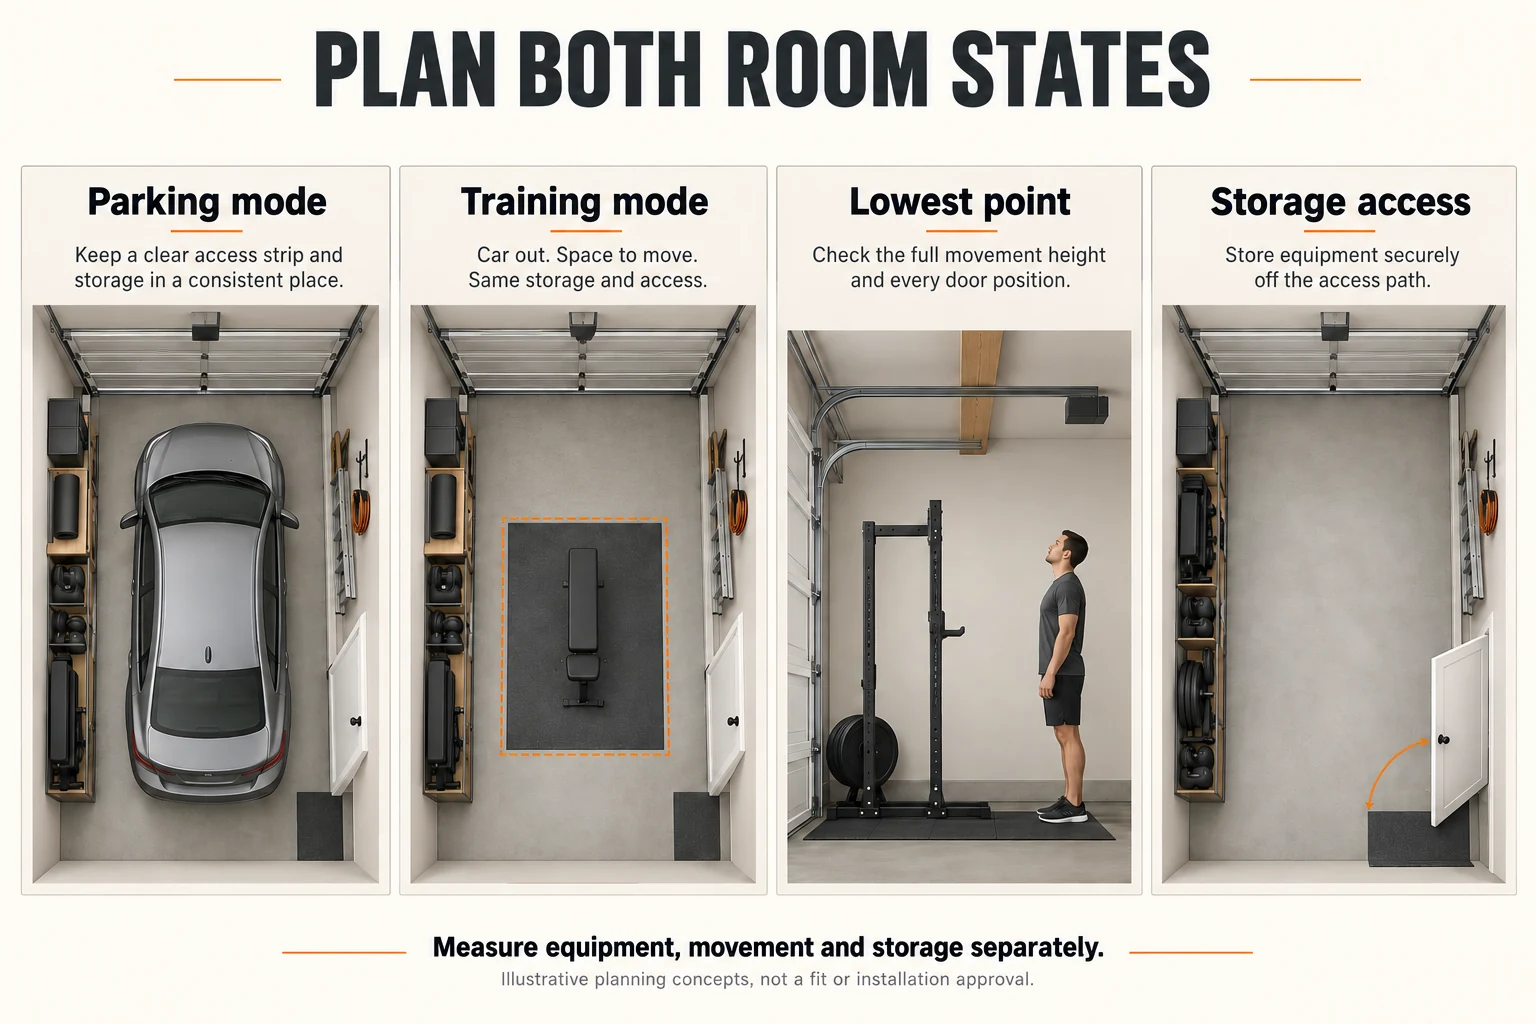
Plan the Daily Vehicle and Equipment Changeover
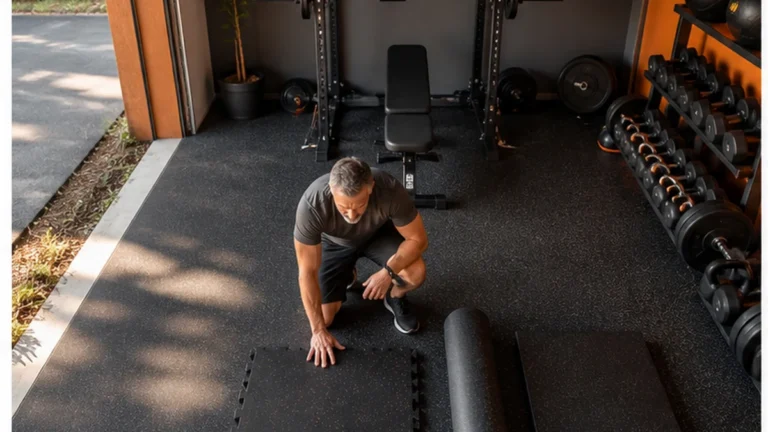
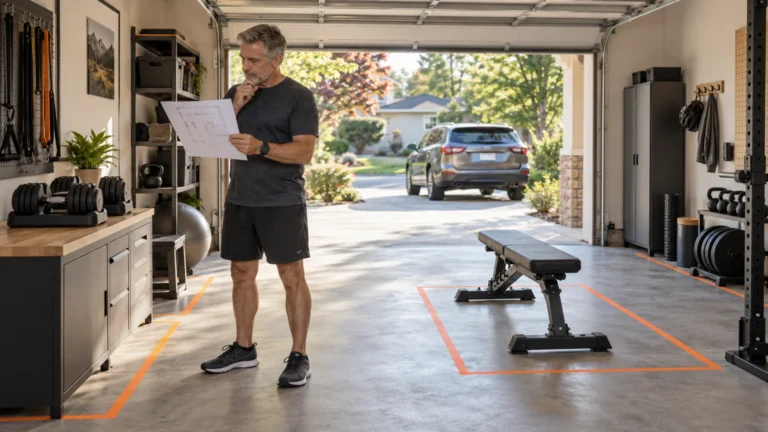
Draw the garage twice. In the parking sketch, include the actual car with mirrors, the car doors you open, the walking route and the stored equipment. In the training sketch, remove the car and draw the deployed equipment and full exercise areas. Keep the same fixed storage and access routes in both sketches.
- Before training: move the vehicle out and finish vehicle movement before deploying equipment. Check that the exercise surface is clean, dry and stable; road grit, water or oil needs attention before use.
- Deploy the setup: retrieve weights from their supported storage, place the bench and secure any adjustments. Use the handling method in the manual; wheels do not make every bench suitable for every threshold or slope.
- Check the actual door state: keep people and equipment clear of door travel. Measure the tracks, opener and other lowest points in every door position that may occur while the setup is deployed. Do not move the door through an obstructed training zone.
- After training: return weights to their bases or rated storage, put the bench into its permitted stored position, and remove loose mats from the vehicle route unless approved for that use.
- Before the car returns: clear loose collars, bands and other equipment. Check the vehicle route, car-door openings and walking access. Finish the equipment changeover before vehicle movement resumes.
Time this full sequence once, including cleanup and retrieving the first weight next time. Record your own time rather than assuming a “two-minute setup.” If the routine is too awkward to repeat, reduce the equipment list or change the storage position before adding another machine.
Watch the parking-to-training changeover
The car leaves before the bench enters the working area. The bench returns to storage before the car returns. Fixed storage and the access route remain in both states. This animation illustrates sequence, not vehicle dimensions, door clearance or an installation.
Silent, 8.5 seconds. Open the animation directly. Playback pauses offscreen; reduced-motion preferences keep playback manual. Follow the readable sequence above in your own garage.
Measure the Lowest Point and the Highest Movement
Record the lowest obstruction above each station, not one ceiling height for the entire room. A beam, light, opener, pipe or open garage door can be lower than the ceiling. Include the equipment during adjustment and the person’s full intended movement: a standing height or rack height alone misses a pull-up, raised dumbbell or inclined position.
| Proposed station | Measure at the location | Decision if unresolved |
|---|---|---|
| Bench and dumbbells | Entry, each back-pad position and the highest intended arm/weight position | Change the position or exercise selection; do not assume seated work always clears an obstruction |
| Rack or wall-mounted equipment | Installed and folded/deployed heights, attachments and each intended movement | Choose a documented suitable format; do not cut or alter the structure to create clearance |
| Garage-door area | Lowest point and swept path through all door positions that can occur | Keep equipment outside the movement path; a parked frame outline cannot resolve this |
Measure from the same floor level. If you measured before adding a surface, include its thickness once. The helper below subtracts proposed added flooring from the entered height difference; enter zero if your measurements already use the finished training floor. A positive difference is only arithmetic, not the manufacturer’s required clearance.
Make Storage Part of the Setup
Assign every item a specific supported place: dumbbells in their matching bases, plates on rated plate storage, collars and bands in a reachable container, and the bench in its permitted configuration. Measure retrieval as well as stored size. A compact item is still inconvenient if a car door pins it against the wall.
Storage methods vary even within one brand. REP says the AB-3100 is not designed for vertical storage; its Nighthawk bench has a purpose-built upright storage post. That does not make upright storage suitable for an unrelated bench. Use the actual revision’s instructions and stored measurements.
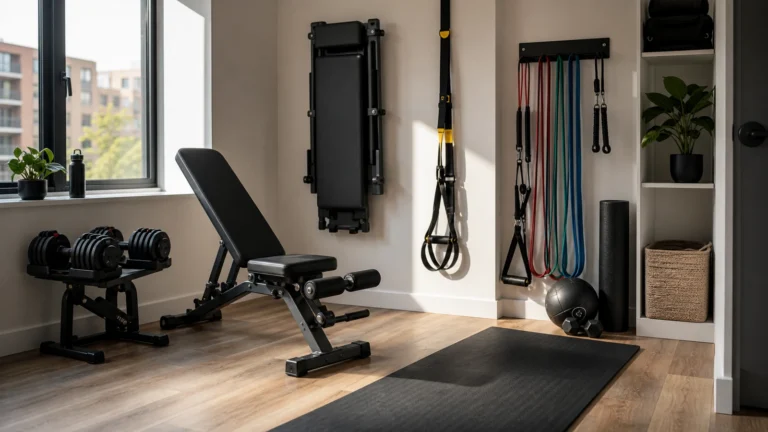
A folding wall rack also needs a suitable wall, its required mount, a clear folding path and storage for the bar and plates. Compare the wall-mounted home gym formats if folding solves a measured problem. Do not fold equipment with a loaded bar or improvise moving a rack that is required to remain anchored.
Watch a manufacturer show a compact installed setup
REP demonstrates its Compact Home Gym Package, including wall-mounted rack/cable formats, a bench and equipment storage. Watch how an installed package combines components. This is a manufacturer product presentation, not independent testing or a demonstration of daily vehicle changeover; the wall, room and exact delivered package still need checking.
Source: REP, the equipment manufacturer. Watch the REP compact home gym presentation on YouTube.
Record Your Layout and Height Differences
Compare one measured working rectangle with the usable zone left after storage, routes and fixed items are excluded. Record the other room state separately on the worksheet. This helper cannot assess an irregular room, swept door path, floor capacity, anchoring or exercise safety.
Without JavaScript: subtract the required working width from the usable width, and repeat for depth. For height, subtract the highest required point and proposed added flooring from the lowest obstruction. A positive result is not a clearance approval. Use the downloadable worksheet to record both room states.
Draw both states on the fillable worksheet
The two-page worksheet records training and parking sketches, storage, changeover time, floor level, height conflicts and the complete rack/bar setup. Keep the actual model manuals with it.
Download the two-state garage and compact gym worksheet (PDF)
Sixteen editable fields; also suitable for paper notes. Save a copy in your PDF reader. The helper opens a separate print record of your current measurements and checked items.
Use Model Dimensions, Not Product Photos
| Item in examples | Published dimensions used | Important limit |
|---|---|---|
| REP AB-3100 | 23 in wide × 50.5 in long | Frame outline only; measure movement and position separately. |
| Rogue R-3BT, 24-in inside depth | 53 × 34 in footprint | Different depth variants exist. Must be bolted to the floor. |
| Concept2 RowErg | 96 × 24 in assembled; 108 × 48 in with use clearance | Use the clearance recommendation, not the frame rectangle alone. |
Use the examples to plan measurements; the three named products are not a recommended bundle. Recheck the current model and manual before ordering. We have not load-tested these rooms or certified any rack-and-bench combination. Our editorial policy explains the distinction between researched information and first-hand testing.
Test the Changeovers and Storage Positions
Two exercises can sometimes share the same floor area at different times. That does not mean two people can use it at once. If the bench moves out for rowing, record where it parks and make sure it does not occupy the exit or another user’s working area.
- Between sets: where do plates, dumbbells and handles go?
- Between exercises: can you adjust the bench or pull it out without lifting it over another object?
- After training: can the door open and can you reach the stored equipment without moving heavy items first?
- For maintenance: can you access the parts the manufacturer says need inspection or service?
For a permanent machine, compare all-in-one systems against separate equipment. For cable work, our cable-machine guide addresses the difference between frame width and the space occupied during an exercise.
Resolve the Room Constraints Before Checkout
Flooring adds height and may change how equipment sits, but a mat does not establish the load capacity of the building beneath it. Choose the surface using the home gym flooring guide; unresolved structural or anchoring questions belong with the manufacturer or a qualified professional for the actual building.
Likewise, a rack fitting below the ceiling does not prove you can do a pull-up or overhead movement there. Check the movement you intend to perform and the lowest obstruction. Do not apply one universal ceiling-height figure to every person, machine and exercise.
Before You Order
- The layout shows equipment and its full use zones.
- Door swings, delivery access and storage positions are accounted for.
- You have rehearsed the intended changeovers.
- Exact-model installation and clearance questions have answers.
Download the Fillable Room Worksheet
Record room dimensions, three equipment models, their working areas and the source for each measurement. The one-page PDF has 21 fillable fields and also works as a printed checklist. Download it and save a copy in your PDF reader; some browser previews do not retain form entries.
Download the home gym room worksheet (PDF)
Conclusion
Measure the room, draw the training and stored configurations, and rehearse the complete changeover before checkout. If a purchase creates an unresolved access or clearance problem, revise the plan before adding the equipment.
Home Gym Layout: Frequently Asked Questions
How much space do I need for a home gym?
There is no single minimum that covers every setup. A bench and dumbbells, a rack and a rower require different shapes and movement areas. Use actual model dimensions and clearance instructions. The room sizes in this guide are examples, not minimum requirements.
Can I put a power rack in an upstairs room?
A floor plan cannot answer structural capacity or anchoring suitability. Identify the exact rack, equipment loads and installation requirements, then resolve the building-specific questions before buying or installing it.
Can a garage gym still park a car?
Potentially, if the car, stored equipment, door movements and access routes have been measured in the parking state. A removable dumbbell-and-bench setup may be simpler than a permanent rack. Finish equipment changeover before vehicle movement, and never idle a car inside the garage.
What ceiling height does a home gym need?
Compare the lowest obstruction with the equipment’s installed height and your intended movements. Flooring, garage tracks and overhead fixtures affect usable height. There is no universal figure that guarantees room for every exercise.
Should I buy equipment or flooring first?
Choose a provisional equipment list and confirm its installation needs before committing to the surface. Include the planned flooring thickness in your measurements. Avoid installing heavy equipment and only then discovering the surface or room configuration must change.
Planning note: Generated featured and concept images illustrate planning, not tested installations. The original measured plans retain their stated dimensions and assumptions. The animation is not to scale. We have not tested these component combinations or assessed your building.