Plan core workouts at home with two complete sessions, easier variations, rest guidance, progression examples and a printable training log.
- Choose a familiar exercise version and count work on both sides.
- Use one or two rounds with enough rest to repeat the setup.
- Record actual work before changing reach, repetitions or hold time.
Bottom line Start with an appropriate familiar session, keep the exercise versions consistent and use your record to decide what to repeat or adjust.
Core workouts at home work best when you can repeat the exercise version, count the work on both sides and decide what to change next time. You can train with a mat and your body weight. A band or one weight adds options later; it does not make an unfamiliar movement appropriate.
This guide gives you two complete session examples, shorter versions and a practical record. They are adaptable training examples for familiar movements, not rehabilitation plans or tests of medical readiness. If you are starting from scratch, use our beginner core guide for the first practice, then return here to organize repeatable sessions.
Quick Summary: Core Workouts at Home
- Choose a familiar version that lets you breathe throughout the set.
- Count repetitions and holds per side; a left-and-right pair is not one side’s dose.
- Rest enough to repeat the setup instead of rushing through a timer.
- Keep the exercise, range and dose steady before changing one variable.
- Use symptoms or unresolved restrictions as a reason to get guidance, not to choose a harder core routine.
The Prime Perspective
A useful home program must work in the room you actually have. That means a floor you can get to and leave comfortably, enough space for your arms and legs, and a dose you can record. Keep the simpler variation while it still gives you useful work.
Build the session around four jobs
The core includes muscles around the abdomen, back and pelvis; a home session does not need to be a list of crunch variations. In Cleveland Clinic’s exercise overview, physical therapist Brittany Smith, DPT, demonstrates options across several levels. Choose movements that match your current exercise experience; you do not need to perform every exercise in the overview.
| Training job | Home option | What to notice |
|---|---|---|
| Resist unwanted arching | Heel slide or dead bug | Keep the chosen trunk position as a limb moves; shorten the reach when it changes. |
| Resist unwanted turning | Bird dog | Keep shoulders and hips facing the floor rather than rotate to lift higher. |
| Resist side-bending | Bent-knee side plank | Keep the hips supported without collapsing into the shoulder. |
| Coordinate the pelvis and hips | Two-leg bridge | Lift through a comfortable range without finishing by arching the lower back. |
These categories overlap. A bird dog also challenges your support arm, and a side plank requires ordinary breathing while the trunk works. You do not need to isolate every muscle. For a closer look at the technique and the first change to make when a movement breaks down, use our core stability exercise guide.
Check the room and choose the starting version
Put the mat on a level, non-slip surface. Clear enough room that a reaching arm does not hit furniture and you can return a foot without kicking something. Keep pets, loose cables and rolling chairs out of the working area. A thick soft pad can feel comfortable while making hand support less steady; choose the surface by the movement, not cushioning alone.
Practice getting down and back up before adding a floor session. If that transition is difficult, painful or uncertain, arrange individual instruction or choose an appropriate standing alternative. A door anchor, unstable stool or stack of yoga blocks is not a substitute for a secure support. No-equipment versions are the default below.
Familiar floor movements
Use the lower dose in Session A, or a version you already know. A short practice set establishes which range you can repeat today.
New movements or a return after a break
Learn the setup first. The beginner article and a qualified instructor can help with the starting dose; do not interpret a successful trial rep as clearance for every variation.
Symptoms or restrictions
Discuss exercise selection with a qualified clinician when pain, recent surgery or other restrictions make suitability unclear. The session selector cannot make that assessment.
Optional equipment for specific core exercises
The floor sessions need no band or weight. These options support mat work or the optional anchored and one-sided exercises. Use equipment you already own when it fits. We have not independently tested these products.
* As an Amazon Associate, PrimeForMen earns from qualifying purchases. Check the selected size, pack and current instructions before ordering.
Best for: For floor space and cushioning when a mat suits your room and movements. Skip if your existing surface already works. Current Amazon listing: Gorilla Mats Large Exercise Mat - 6x4/7x4/7x5/8x4/10x4 ft - Home Gym Mat Best for: For an optional Pallof press with a compatible, securely installed anchor. Skip if you cannot confirm the anchoring instructions. Current Amazon listing: WHATAFIT Resistance Bands with Handles, 150 lb Exercise Bands Set Best for: For an optional familiar one-sided hold or carry with an appropriate load and clear route. Skip if grip, setup or exercise suitability is uncertain. Current Amazon listing: Amazon Basics Adjustable Dumbbell with 5 Weight Options, 25 lb, Single Dumbbell, Black * As an Amazon Associate, PrimeForMen earns from qualifying purchases.Recommended Products

Gorilla Mats large exercise mat
View on Amazon

WHATAFIT resistance bands with handles
View on Amazon
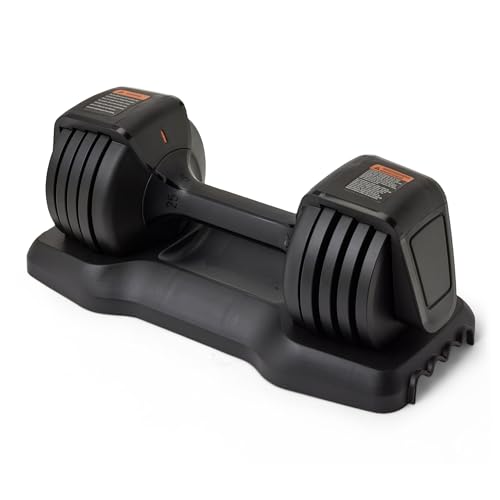
Amazon Basics adjustable dumbbell, 25 lb, single
View on Amazon
Choose a familiar home session
This helper organizes your stated choices and observations. It cannot assess technique, diagnose symptoms or decide whether exercise is medically appropriate.
Without the helper, use the written exercise instructions and session example. New movements need instruction; symptoms, restrictions and uncertainty need individual guidance. Record the version, actual work and rest before considering one change.
Two complete core workouts at home
These examples use rounds: complete the listed work for one exercise, rest, then move to the next. Finish both sides before moving on when a dose says “per side.” One round is useful when that is the appropriate amount; a second round repeats the same doses. Neither example requires finishing through fatigue or discomfort.
Before the first round, move comfortably for a few minutes, rehearse getting onto the mat and try one or two easy repetitions of each selected version. This practice is separate from the work below. Breathe normally during the work; the specific setup and stop checks follow the session tables.
Session A: shorter reaches and supported positions
| Exercise | Work in one round | Rest and next step |
|---|---|---|
| Heel slide | 5 slow repetitions per side | Alternate sides, return the heel before the next rep; rest 45 to 60 seconds afterward. |
| Bird dog: one limb or short opposite reach | 4 repetitions per side with a brief 2-second pause | Choose one familiar version for the whole set; rest 45 to 60 seconds afterward. |
| Bent-knee side plank | 10-second hold per side | Rest 20 to 40 seconds when changing sides, then 45 to 60 seconds after the pair. |
| Two-leg bridge | 8 controlled repetitions | Pause briefly at a comfortable top position; rest 60 to 90 seconds before another round. |
Five heel slides per side means ten individual slides in that round, not five total. The side plank similarly has a left hold and a right hold. Shorten a hold or finish earlier when the shoulder, breathing or trunk position changes. The numbers are ceilings for the chosen example, not a requirement to struggle to the end.
Session B: familiar limb movement with a little more work
| Exercise | Work in one round | Rest and next step |
|---|---|---|
| Dead bug: short opposite arm/leg reach | 6 repetitions per side | Return to the start before switching; rest 45 to 60 seconds afterward. |
| Bird dog: familiar opposite reach | 5 repetitions per side with a brief 2-second pause | Reach only as far as the torso stays controlled; rest 45 to 60 seconds afterward. |
| Side plank: knees or familiar full version | 15-second hold per side | Rest 20 to 40 seconds between sides, then 45 to 60 seconds after the pair. |
| Two-leg bridge | 10 controlled repetitions | Keep the last rep as controlled as the first; rest 60 to 90 seconds before another round. |
Session B is an alternative dose, not an automatic next level. A longer reach may be too demanding even when the rep count feels easy. Record the knee-supported or full side-plank version explicitly: fifteen seconds of each are different tasks.
We do not promise an exact ten- or twenty-minute finish. A repetition-based set, a side change and a rest interval all take time, and your setup may take longer. Allow time for the actual work and needed rests. If a session does not fit, remove a round or an exercise rather than quietly remove the rest.
Learn the four movements before adding more work
Heel slide and dead bug
For a heel slide, lie on your back with both knees bent and feet on the mat. Let your head rest comfortably. Create enough abdominal tension to keep your chosen trunk position while gently sliding one heel away. Stop short of a range that makes you arch or twist; bring the foot back before switching sides. Your heel stays in contact with the surface.
For the opposite-reach dead bug, start with arms toward the ceiling and bent legs raised only if that starting position is already comfortable and familiar. Reach one arm back as the opposite leg moves away, then return both before changing sides. A bent leg and a shorter reach reduce the challenge. You do not need to force the hand or foot to touch the floor, press your back down painfully or hold your breath to finish.
Bird dog
Start with hands under shoulders and knees under hips on a stable surface. First practice moving one arm or sliding one foot while keeping the other supports on the mat. If the opposite-reach version is familiar, reach one arm forward and the other leg back without lifting them above the height you can control.
Return to the four-point position between repetitions. Keep looking toward the floor rather than crane your neck. A moving support hand, turned pelvis or dramatic back arch is a reason to shorten the reach or use one limb. Record a rushed reach as a change in technique so it does not inflate the count of controlled reps.
Bent-knee side plank
Lie on one side, support yourself on the forearm with the elbow under the shoulder, and bend the knees. Lift the hips enough to support a comfortable line through the shoulder, hip and knees. Keep breathing while the underside of the torso works. Lower under control, rest, then change sides.
If the shoulder pinches or the forearm slips, end the hold and reassess the setup. A shorter supported hold can be useful; pain is not a cue to push harder. Use the full-leg version only when its support and dose are familiar. Record left and right work separately if you need different doses.
Two-leg bridge
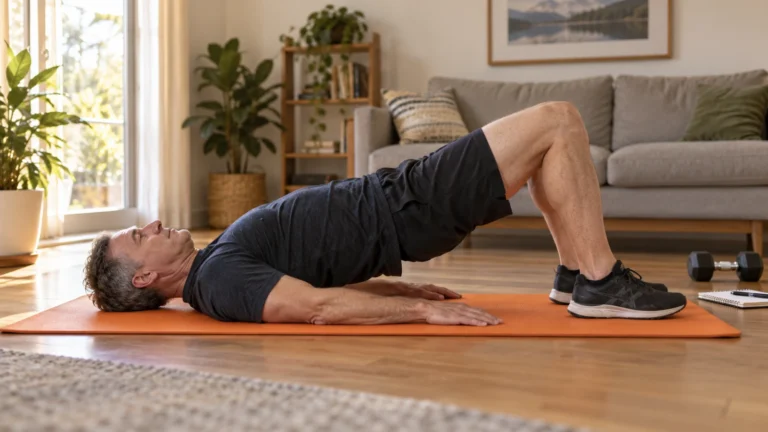
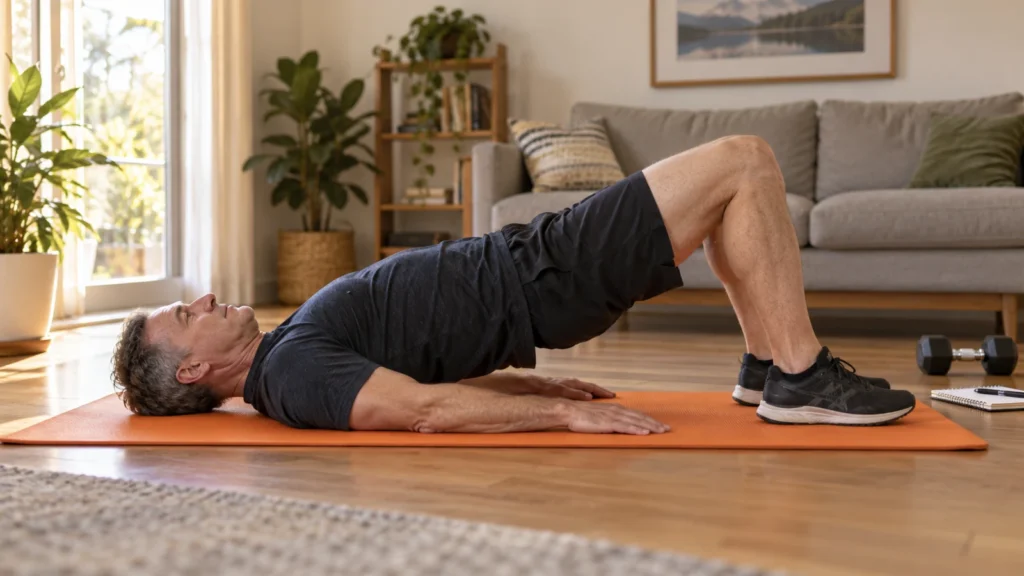
Lie on your back with knees bent and feet planted. Lift the hips through a comfortable range while the shoulders and head stay supported. Stop before you finish the movement by arching the lower back. Lower deliberately, settle the feet and repeat.
If the hamstrings cramp or you need a large back arch, stop the set, reduce the lift and reconsider foot placement. Do not keep changing the stance halfway through a logged set and then compare its repetition count as if nothing changed. A marching bridge removes one foot’s support and is a different variation, not a required upgrade.
Watch opposite-limb movement in a dead bug
The National Academy of Sports Medicine (NASM) demonstrates a dead bug in this short technique clip. Watch the opposite-arm and leg movement and the return to the start. The demonstration uses a different starting position from the shorter version described here; use a familiar range you can control rather than copy the full reach.
Watch this technique clip on YouTube if the embed does not play.
Add equipment only for a specific task
A suitcase hold can replace the bridge slot when you specifically want standing one-sided work and the setup is appropriate. Hold one manageable weight at your side, stand without leaning and keep breathing. One starting example is two 15-second holds per side with 30 to 45 seconds between sides and longer rest as needed. The weight is individually chosen; the article does not calculate it.
A carry adds walking to the hold. Use a clear, level route where the load stays away from your feet and furniture. Turn slowly or stop and reset. Begin with a short route you can repeat instead of chasing a step target while your grip or balance fails. Someone who cannot stand and handle the load comfortably should not improvise a carry as a floor-work substitute.
A Pallof press is another optional substitution, usually for the bird-dog slot. With a verified anchor near chest height, stand sideways to a light resistance band and press the handle away from the chest without letting the torso turn. Return slowly. Only use the anchor and band as instructed by their manufacturer; inspect wear, attachment and pull direction first, and keep the line of pull away from your face. If the setup is uncertain, keep the no-anchor exercise. Our resistance-band training guide covers broader setup choices.
Make the next session a deliberate decision
Choose two repeatable slots in the week, such as Monday and Thursday, when they fit your main training and recovery. These are scheduling examples, not a medically optimal interval. A and B can alternate, or you can repeat A while you learn which range and dose remain consistent. You do not need a harder session just because another week has passed.
Put harder core work after the main strength lifts or on a separate appropriate day. Brief easy setup practice before lifting is different from exhausting the trunk first. If an accessory session leaves you unable to brace as usual in the next strength workout, reduce its dose and review your overall schedule with the rest and recovery guide.
Use your log to choose the next session
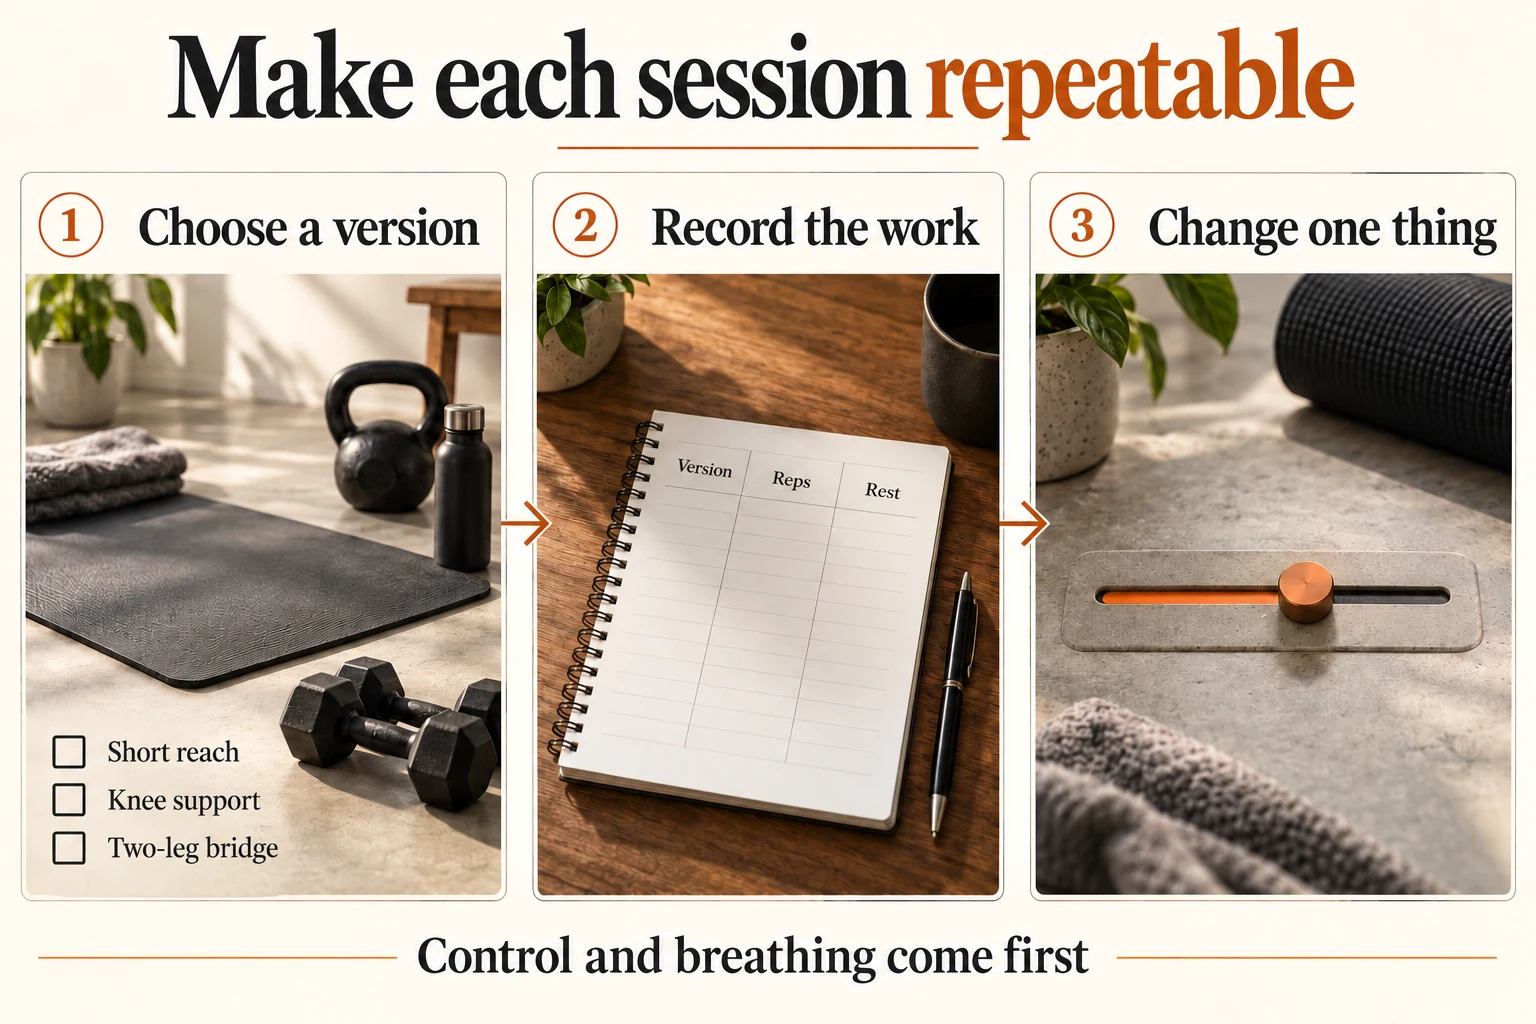
The schematic log shows a training choice: record the exercise version, check control and breathing, then repeat it or change one detail. It does not prescribe automatic progression.
Silent, 8.5 seconds. Open the animation directly. Playback pauses offscreen; reduced-motion preferences keep playback manual. The written instructions remain available above.
Repeat
Keep the version and dose when they are still useful or when you have only one clear record. Repetition gives you a fair comparison.
Reduce or simplify
Use fewer reps, shorter holds or a shorter reach when position or breathing changes. Persistent symptoms need guidance rather than another adjustment attempt.
Consider one small change
When repeated sessions are comfortable and controlled, add one rep per side, a few hold seconds or one variation change. Keep the other variables steady.
A worked heel-slide record
First session: heel slide, five reps per side, a short reach, one round, 60-second rests. You finish normally but do not yet know whether that dose is repeatable. Next session: repeat the same version. If control and breathing remain consistent, trying six reps per side in a later session is one possible change. Do not simultaneously straighten the leg further and add a second round.
If control changes on the fourth repetition, record three controlled reps and the reason you stopped. Use a shorter reach or lower rep count next time as appropriate. The planned five reps should not replace the actual three in the log. This is a training observation, not evidence that your spine is weak or injured.
A worked side-plank record
Record “knees supported, 10 seconds left/10 seconds right,” not just “plank.” After repeated comfortable sessions, you might try 12 seconds with the same support. Switching to straight legs changes leverage and support; if you choose that familiar variation, start with an appropriate shorter hold rather than expect the same duration.
Keep a record you can bring to practice
Download my home core session record (fillable PDF). Its eight fields capture the version, actual work, rest and what to review next. Save after filling, or print and write by hand. The helper print button creates a separate record with your current choices, notes and checkmarks.
Handle symptoms without turning the workout into treatment
Normal effort and mild shaking can occur. Stop when shaking prevents the chosen position, breathing or controlled return. New sharp, worsening or unusual pain is a reason to stop the exercise. Persistent discomfort, pain spreading into a leg, or unexplained weakness deserves professional advice about the activity and its cause.
The NHS back-pain guidance distinguishes routine advice from urgent warning signs. Back pain with new bladder or bowel problems, loss of feeling around the genitals or anus, or pain, tingling, weakness or numbness in both legs can need emergency assessment. Use local emergency services for urgent symptoms; do not troubleshoot them with a different plank. Feeling unwell, fever with back pain, major trauma or rapidly worsening pain also needs prompt medical guidance.
Conclusion
Start your core workouts at home with an appropriate familiar version of A or B. Count each side, preserve needed rest and write down the work you actually completed. Repeat the setup before changing the dose; choose one adjustment when the record supports it. Keep these drills alongside progressive whole-body training, walking and other suitable activity.
Build the rest of your core plan
The PrimeForMen core workout hub connects beginner practice, technique and broader training choices. Our home strength guide helps place this accessory work inside a complete program. Read the editorial policy for how we handle evidence and commercial links.
Frequently Asked Questions About Core Workouts at Home
How often should I do a home core workout?
Two weekly slots are a practical example to start organizing familiar accessory work. The appropriate frequency depends on your existing training, recovery and restrictions. Daily hard sessions are not required; repeatable work matters more than automatically adding days.
Can I train my core without getting onto the floor?
Standing wall-supported practice, an appropriate suitcase hold or a properly anchored light Pallof press offer options. They have their own support, handling and setup demands. Difficulty with floor transitions does not automatically make loaded standing work appropriate; get guidance when access or balance is uncertain.
Should I use a timer or count repetitions?
Count the prescribed reps for moving exercises and time the prescribed holds. Count both sides, then rest. A continuous circuit timer should not force you to rush the return or continue after control changes.
Will these exercises remove belly fat?
They train the muscles and movement tasks involved. They are not a way to choose where body fat is lost. Do not judge a useful training record only by abdominal appearance.
When can I move from Session A to Session B?
There is no automatic date or score. Consider whether the specific B variations are familiar, suitable and controllable, and whether the added dose fits your whole training plan. You can keep A, reduce B or progress one A exercise without changing the whole session.
This is general fitness education, not individualized medical or rehabilitation advice. Exercise restrictions, symptoms and uncertainty about suitability need qualified guidance. A helper selection or completed repetition does not clear you to exercise.