Train in a small apartment with two strength days, low-impact cardio, easier exercise options, a four-week progression and a free workout card.
- Two strength days with clear sets, reps and easier options.
- A 14-minute cardio session without jumping.
- Check your space and floor before increasing difficulty.
Bottom line Test your setup, complete a manageable Day A and record one change for the next session.
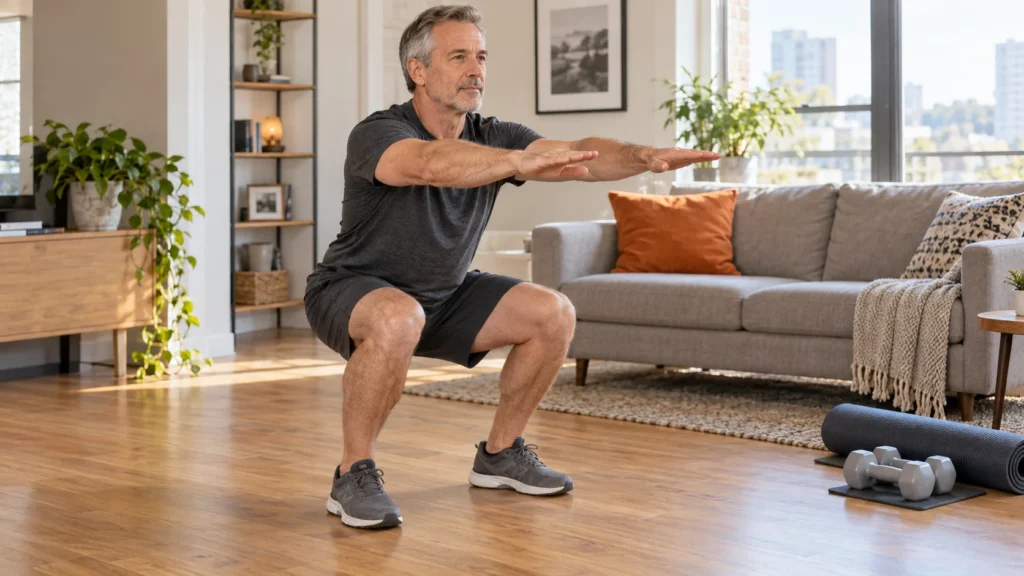
Apartment-friendly workouts should give you a usable strength and cardio plan without jumping, dropped weights or large traveling movements. Start with two controlled strength sessions and one short low-impact cardio session each week. Use the exercise instructions, easier options and four-week progression below to adapt the plan to your space and current fitness.
Quick Summary: Apartment-Friendly Workouts
- Keep feet grounded and set equipment down gently; low impact is not a promise of silence.
- Check your actual movement clearance, flooring and support surfaces before starting.
- Use two nonconsecutive strength days, with a separate manageable cardio day.
- Begin with one set if returning to exercise; progress one variable at a time.
- A mat improves comfort and grip when suitable, but cannot guarantee sound isolation.
The Prime Perspective
A useful apartment routine is specific about what to do, how much to do and what to change when the space or exercise does not fit. A list of quiet-sounding movements is not enough. Your downstairs neighbor may hear footfalls that seem mild in your own room, and a thick soft mat can make standing exercise less stable.
The following program is an editorial example for generally healthy adults, including men over 50. It has not been tested as a PrimeForMen intervention and is not rehabilitation. Choose options that you can control, and use the downloadable card to record your actual setup rather than treating every apartment as identical.
Check Your Room and Floor Before Choosing Exercises
1. Rehearse the full movement without resistance
Clear a space long enough to lie down and wide enough for your chosen movements. A typical mat is a starting reference, not a guaranteed minimum room size. Extend your arms, step into a split stance and practice getting down and back up. Check nearby furniture, ceiling lights, fans, pets and the route you will use to put equipment away.
If you cannot extend safely, shorten the movement or choose another exercise. Do not turn sideways in a cramped gap while holding weights. For measured example layouts and equipment planning, see our home-gym layout guide. Its room examples are planning aids, not a structural assessment of your apartment.
2. Separate stable footing from floor comfort
Use a firm, nonslip surface for standing work. A mat can be helpful for knees, elbows and floor exercises, provided it stays flat and does not slide. Avoid stacking soft mats to create a makeshift lifting platform. Choose footwear or other footing that grips your actual surface; socks on a slick floor are a poor combination.
Put dumbbells down under control on a suitable protective surface. Rubber coatings and mats do not make dropping weights acceptable. If you plan unusually heavy equipment, floor-loading and lease questions need building-specific advice rather than a general workout article.
3. Test the sound and the support
Try a few slow repetitions before a full workout. A housemate can help identify rattling furniture or heavy footfalls; checking with a downstairs neighbor, when practical, provides better information about transmission. Respect building quiet hours. Headphones reduce music noise, not the vibration from steps or equipment.
A chair used for sit-to-stands must be stable, nonrolling and unable to slip. Use a fixed wall for wall push-ups. For rows, support your hand only on a surface that safely handles the force; skip lightweight tables or rolling furniture. Band anchors need manufacturer-approved installation and inspection. A door handle is not automatically a safe anchor.
Swap Impact for Controlled Movement
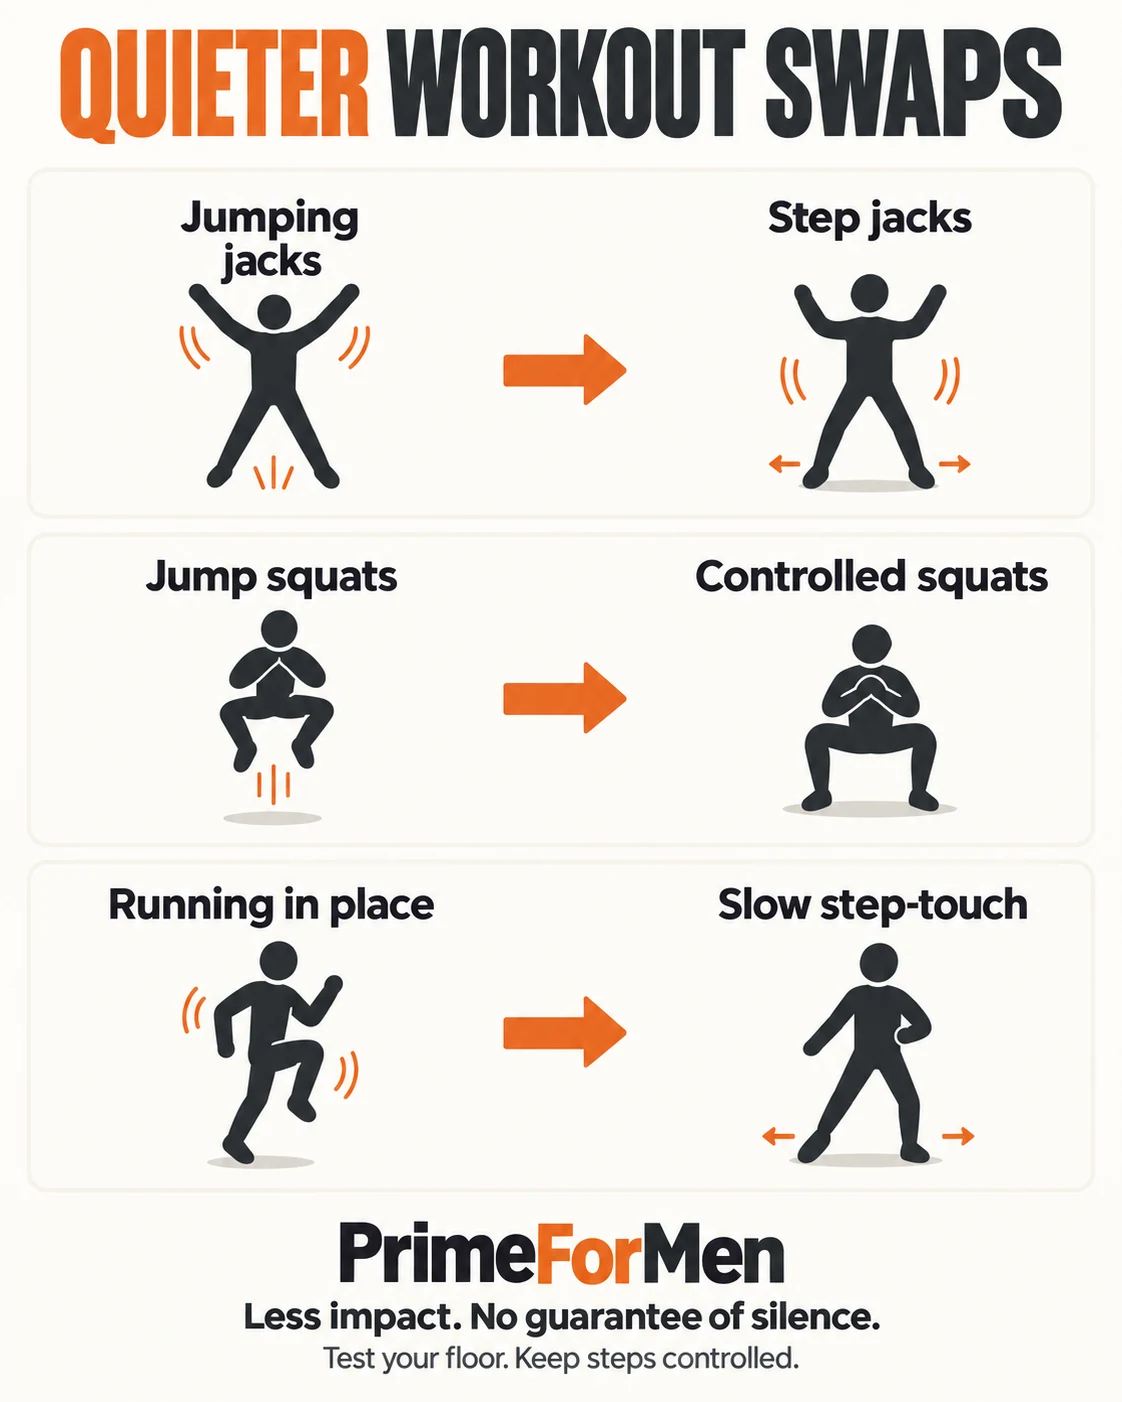
| Instead of | Try | Control cue |
|---|---|---|
| Jumping jacks | Step jacks | Step one foot outward and back; alternate sides without hopping. Keep arms below shoulder height if preferred. |
| Jump squats | Controlled squat or sit-to-stand | Keep feet planted; lower smoothly instead of dropping onto the seat. |
| Running in place | Slow step-touch | Take a small side step, bring the other foot toward it and reverse. Place feet gently. |
| Burpees | Wall push-ups followed by easy steps | Separate the movements; omit rapid floor transfers and jumping. |
| Walking lunges or loaded carries | Supported split squat or stationary hold | Stay in one clear area and choose a support or load you can control. |
On mobile, swipe the table to see all columns.
Your Weekly Plan: Two Strength Days and One Cardio Day
Use Monday and Thursday for strength and Saturday for cardio, or similar spacing. Allow about 25–35 minutes for each strength session, including a warm-up, transitions and rests. The cardio session below takes 14 minutes. These are starting sessions, not a complete weekly aerobic target.
The CDC adult activity guidance recommends at least 150 minutes of moderate aerobic activity and muscle strengthening on two days weekly. Build toward appropriate activity gradually; walking outside can supply additional aerobic time without adding indoor noise.
Warm up and choose your effort
Before strength work, spend roughly four to five minutes on gentle step-touch, comfortable shoulder movements, unloaded hinges and a few easy repetitions of the first exercise. Start below your working effort. Stop sets with about two or three good repetitions still available rather than working until form breaks down.
Rest 60–90 seconds between sets; use up to two minutes or longer when breathing or positioning needs it. Do both sides of a one-arm or one-leg exercise before the main rest, taking a short reset between sides as needed. Breathe throughout instead of deliberately holding your breath.
| Pattern | Day A | Day B |
|---|---|---|
| Lower body | Sit-to-stand or controlled squat: 2 × 6–10 | Supported split squat: 2 × 6–8 per side |
| Push | Wall push-up: 2 × 6–12 | Wall push-up or familiar stable incline version: 2 × 6–12 |
| Pull | Supported one-arm dumbbell row: 2 × 8–12 per side | Same row: 2 × 8–12 per side |
| Hip movement | Glute bridge: 2 × 8–12 | Unloaded or light dumbbell hip hinge: 2 × 8–12 |
| Trunk control | Supine heel slide: 2 × 5–8 per side | Supine heel slide: 2 × 5–8 per side |
Returning after a break? Use one set per exercise initially and the easier versions below. If you have only ten minutes, warm up briefly and perform one set of a squat, wall push-up and row. That is a shortened session, not the full program squeezed into less time.
No weight or suitable band? You can begin with the other movements, but they do not replace loaded pulling. Avoid improvised towel rows from doors or furniture. For a longer-term complete routine, arrange access to suitable pulling equipment or training elsewhere. Our no-equipment workout guide discusses bodyweight options separately.
How to Perform the Strength Exercises
Sit-to-stand or controlled squat
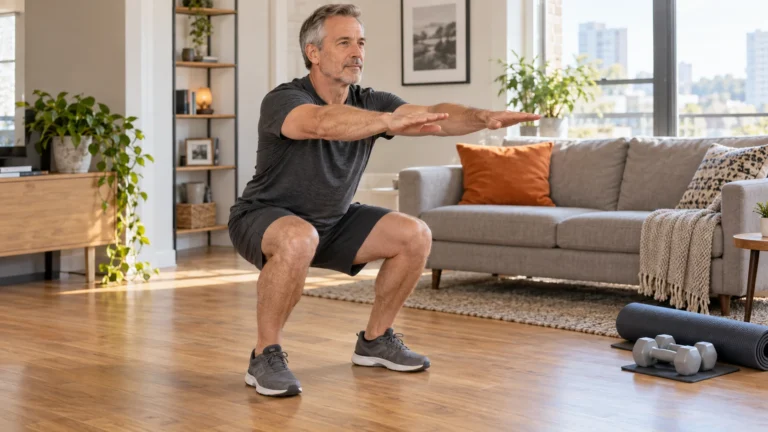
Place a stable chair where it cannot slide. Set your feet comfortably, lean your torso forward enough to stand, then rise without bouncing. Lower back to the seat gently. Use a comfortable range and hand assistance if necessary. A free-standing squat is an option once you can control the movement without the chair.
Keep the setup repeatable. A lower seat is not automatically better. The NHS strength-exercise guide provides illustrated sit-to-stand and wall push-up instructions, including stable-chair guidance. Our program uses its own example volumes rather than reproducing the NHS routine.
Supported split squat
Take a short, comfortable split stance with both feet on the floor. Lightly hold a fixed support, lower through a manageable range and stand back up. Keep the front foot planted and let the knee follow the direction of the toes. Begin with bodyweight; you do not need to elevate the rear foot.
If balance or positioning is difficult, repeat sit-to-stands instead. Six repetitions left and six right make one set per side. Two rounds therefore give each leg two sets. See unilateral training for more detail on counting work and using support.
Wall push-up
Place hands on a solid wall around chest height and step back a comfortable distance. Bend the elbows to bring your body toward the wall, then press away while keeping your torso controlled. Avoid reaching your head forward while leaving the chest behind. Move closer to the wall if the exercise is too demanding.
A stable, suitable raised surface can make the exercise harder later. Do not use a chair or table that can tip or slide. If wrist or shoulder pain persists, stop that variation rather than trying to force a prescribed repetition count.
Supported one-arm row
Use one hand on a stable support and hold a manageable dumbbell in the other. Hinge slightly, keep your trunk steady and pull the weight toward the side of your torso. Lower smoothly without twisting to manufacture extra range. Complete one side, reset and change hands.
A properly anchored band row is an alternative if you already have a safe setup. Check the band for damage and follow its mounting instructions. Our resistance-band guide covers equipment selection; a band is not a reason to trust an unsuitable anchor.
Glute bridge and hip hinge
For the bridge, lie with knees bent and feet grounded. Lift your hips to a comfortable height without forcing an exaggerated back arch, then lower softly. Choose a range you can control. If getting onto the floor is difficult, use the standing hinge instead.
For the hinge, soften the knees and send the hips back while keeping your back position comfortable and steady. Stop before you need to round or strain to reach lower, then stand tall. Practice without load first. With dumbbells, keep them close and set them down carefully after the set; reaching the floor is not the goal.
Supine heel slide
Lie on your back with knees bent. Slowly slide one heel away and return it while keeping the trunk steady and breathing normally. Alternate sides; reduce the distance if control changes. Keep the heel in contact with the surface rather than letting it strike the floor.
If floor access is impractical, use a comfortable standing wall plank for 15–25 seconds instead: forearms against the wall, feet a small distance away, body steady, normal breathing. This changes the task and is not an exact replacement. Begin conservatively and adjust to your ability.
A 14-Minute Low-Impact Cardio Session
Start with two minutes of easy step-touch and relaxed arm movement. Then repeat the four stations below twice, using 40 seconds of work and 20 seconds of easy stepping or rest at each station. That gives eight minutes of intervals. Finish with two minutes of easy walking around your clear space and two minutes of comfortable recovery movement: 2 + 8 + 2 + 2 = 14 minutes.
- Step-touch: small side steps, gentle foot placement and optional relaxed arm swings.
- Step jacks: alternate one foot outward and back without a hop. Keep the arm range comfortable.
- Stationary shadow boxing: light controlled punches with a stable stance; no bouncing, forceful twisting or hand weights.
- Squat-to-reach: a shallow controlled squat followed by standing and a comfortable reach, without lifting into a jump.
For an easier start, use 20 seconds of work and 40 seconds of recovery; the session length stays the same. Keep effort manageable enough to speak in sentences. Slow down, rest or shorten the session if needed. A faster pace is only useful while movement remains controlled.
Watch a low-impact movement demonstration
This Fitness Blender session demonstrates a separate 22-minute low-impact routine. Use it for visual ideas or as an alternative cardio day, not in addition to every interval above. It includes balance and floor movements that may be harder than this article’s starter options; substitute step-touch whenever needed. We do not adopt its calorie estimates or guarantee that a building will be quiet.
Progress Over Four Weeks Without Adding Impact
| Week | Strength focus | Cardio focus |
|---|---|---|
| 1 | Learn repeatable setups. Use one set if returning; otherwise two comfortable sets at the low end. | Use 20/40 work/recovery or the standard 40/20 if manageable. |
| 2 | If recovery is good, move from one to two sets, or add one repetition within the range. Choose one change. | Repeat the same timing and improve gentle foot placement. |
| 3 | Work toward the top of the rep range without losing control. | If using 20/40 comfortably, try 30/30. Otherwise repeat. |
| 4 | After two controlled sessions at the top range, consider a small load increase or harder push-up setup; return to lower reps. | Try 40/20 if ready. Do not add jumping to make it harder. |
For example, progress a row from 2 × 8 to 2 × 9, then toward 2 × 12 over repeated sessions. Only then consider the smallest suitable load increase. Progress is not required every workout, and the same calendar week can be repeated. Our progressive-overload guide explains the broader principle.
If soreness or fatigue disrupts normal activity or the next session, reduce work and review recovery. Do not simultaneously add weight, shorten rest and choose a harder variation. Sharp pain, dizziness or unusual symptoms are reasons to stop and seek appropriate guidance, not progression targets.
Download the Apartment Workout Card
The two-page card includes the weekly routine, interval timing, progression rules and fillable fields for your room check and training notes. Record exercise variation, repetitions or interval timing, and what to repeat next time.
Download the apartment workout card (fillable PDF)
Save a copy in a PDF reader that supports forms. Your notes stay in your own file.
Equipment That Solves a Specific Problem
You do not need to buy a complete kit. These links lead to Amazon search categories, not products independently tested by PrimeForMen. Compare dimensions, instructions and suitability for your setup before purchasing.
As an Amazon Associate, we earn from qualifying purchases.
Conclusion
Start by testing your room, support surfaces and foot placement. Then complete a manageable Day A and record what you did. Build consistency with two strength days, add appropriate aerobic activity and progress without relying on impact. For a broader training block beyond this apartment-specific setup, use our full-body home workout.
Frequently Asked Questions
Can I work out upstairs without disturbing neighbors?
You can reduce impact by avoiding jumping, heavy steps and dropped weights. No routine is guaranteed silent in every building. Test your movements, respect quiet hours and change the session if vibration remains a problem.
How much space do I need?
Enough to perform the entire chosen movement and enter or exit its position safely. Rehearse unloaded with arms and legs extended as required. A mat-sized footprint is a reference, not a universal clearance standard.
Are thicker mats always better?
No. Extra cushioning may help floor comfort but can reduce stability for standing work. Choose a flat, nonslip surface suited to the exercise. Mats are not a guarantee against transmitted sound.
Can this routine build strength?
It provides a way to practice and progressively challenge major movement patterns. Results depend on starting ability, effort, resistance and consistency. Over time you may need more suitable resistance or other training access.
What if I cannot comfortably get onto the floor?
Use the standing hinge instead of bridges and a comfortable wall plank instead of heel slides. Choose a manageable transition-free routine. Persistent limitations or pain merit individualized assessment.
Medical Disclaimer
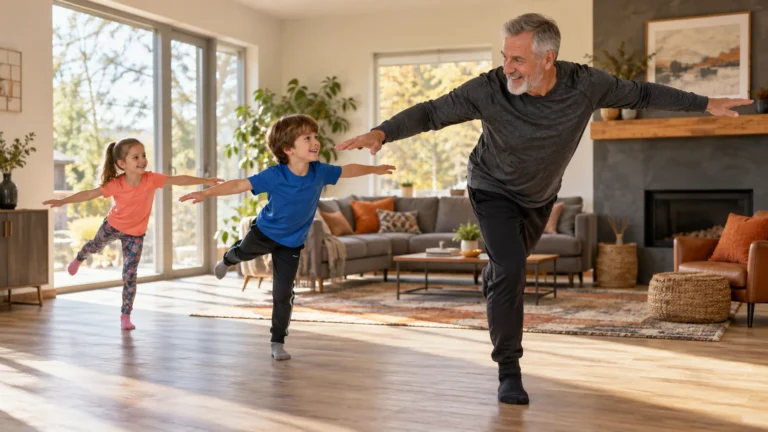
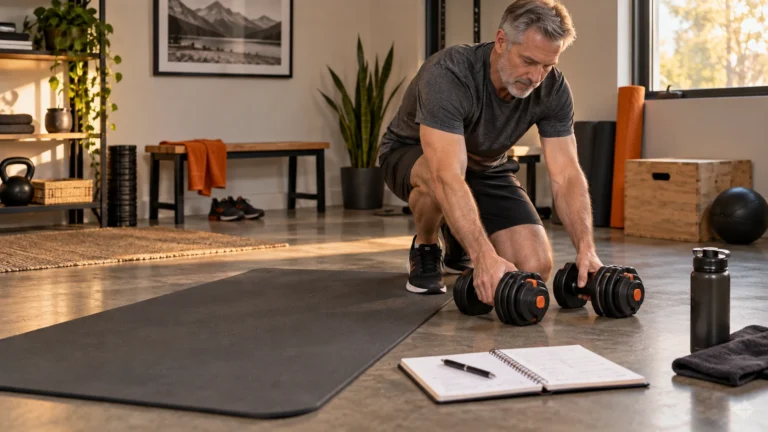
This is general fitness education, not individualized medical or rehabilitation advice. Adjust activity for your health and ability and seek guidance for persistent pain or unusual symptoms. The featured image and infographic are AI-generated illustrations, not photographs of a tested program. Our editorial policy explains our evidence standards.
Affiliate Disclosure
PrimeForMen may earn commissions from qualifying purchases through product-category links. No personal product testing, measured sound reduction or guaranteed training result is claimed.